Read our Sigma BF review for owner feedback, pros, cons,...
Read More3D Tracking
Follows your selected animal through the frame.
Limit: Branches can interrupt tracking.
28-Oct-2026 / Content written by Humna!
Yes, the Nikon Z6 III is a capable choice for wildlife photography, especially mixed mammals and moving subjects. Its 24.5MP sensor and fast shooting suit action, but distant animals leave less room for heavy cropping.
Start with AF-C for movement, 3D Tracking or Wide-area for clear subjects, and Single-point through vegetation. Try 1/1600–1/3200s for running mammals, adjusting for speed and light.
Animal detection may help, but it does not guarantee eye recognition for every wild species. Check eye sharpness before continuing.
You spot a deer moving through tall grass, lift your camera, and focus only to find the grass sharp and the animal blurred. If you’re considering the Nikon Z6 III for wildlife photography, you’ll want to know how it handles moments like this.
Will focus stay on a moving animal? Does your lens offer enough reach? Can you keep shooting through the action and crop without losing too much detail?
Growing up in a hilly region, I often saw wild mammals along mountain roads or moving across distant hillsides. These sightings showed me how unpredictable wildlife encounters can be, with animals sometimes clearly visible and sometimes barely noticeable in the distance.
That experience shapes my wildlife photography research, especially when looking at lens reach, autofocus, and changing surroundings.
Using Nikon’s documentation, independent reviews, and photographers’ published experiences, this guide walks you through settings, five wildlife situations, troubleshooting, and lens choices plus whether a Z8 upgrade makes sense for you.
WILDLIFE PROBLEM SOLVER
Find a practical next step for your missed shot.
Select a problem above to see what to check, change, and verify.
Suggested checks, not an automatic diagnosis. Results depend on your lens, firmware, light, subject, and technique.
For this guide, I reviewed Nikon’s Z6 III documentation, firmware notes, autofocus instructions, and lens specifications alongside independent reviews and published wildlife photographers’ experiences.
I focused on common frustrations: focus catching vegetation, blurred moving animals, limited detail after cropping, and exposure choices in fading light. These findings informed the settings, lens comparisons, and troubleshooting advice.
I used owner reports to add practical context to the official guidance. The field check procedure helps you review your own setup, identify the cause of missed shots, and adjust one variable at a time.
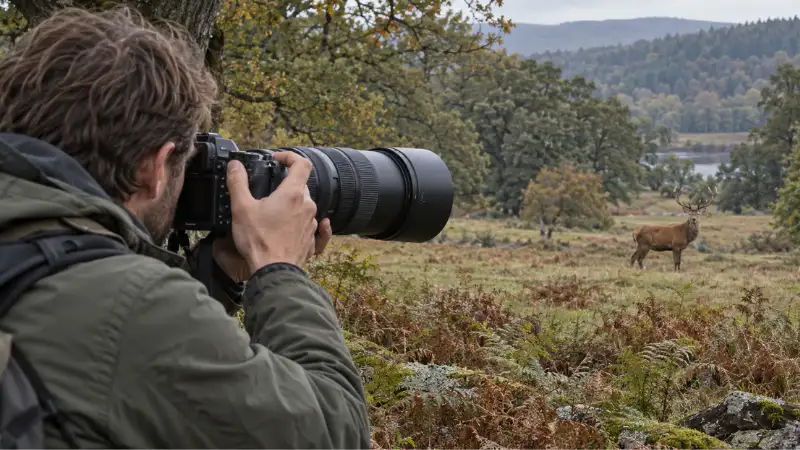
Using Nikon’s documentation, independent reviews, and photographers’ published experiences, this guide covers practical settings, six wildlife situations, troubleshooting, and lens choices—plus whether a Z8 upgrade makes sense for you.
The 24.5MP full frame, partially stacked sensor supports fast capture. Nikon rates readout approximately 3.5× faster than the Z6 II; that describes sensor speed, not photo quality. Subject recognition and 3D Tracking help you acquire and follow a subject.
The high resolution viewfinder helps with framing and focus inspection. RAW bursts preserve editing flexibility, while JPEG Pre-Release Capture can save frames before you fully press the shutter. Weather sealing adds outdoor protection; IBIS and compatible telephoto lens VR reduce camera shake.
Heavy cropping leaves fewer pixels, and grass can still distract autofocus. DPReview’s Nikon Z6 III review found less flexibility for recovering deep RAW shadows at low ISO than the Z6 II.
Lens weight, batteries, and cards affect portability. Stabilization cannot freeze animal movement, and pixel shift mode cannot replace higher resolution for moving wildlife.
For longer wildlife outings, pack a spare Nikon EN-EL15c battery.
My advice: Check focus accuracy, motion blur, and remaining detail separately before blaming the camera.
Follows your selected animal through the frame.
Limit: Branches can interrupt tracking.
Reduces camera shake with compatible equipment.
Limit: Cannot freeze animal movement.
Allows cropping when you have enough subject detail.
Limit: Heavy crops leave fewer pixels.
Saves buffered action before a full shutter press.
Limit: JPEG modes only; C120 uses DX crop.

Can’t find a setting mentioned in a guide? Check your firmware first. Updates can change menu labels, available features, and lens compatibility.
Firmware 2.00 introduced dedicated Birds detection, Focus Limiter, Auto Capture, and C15 shooting, alongside separate image quality settings for high speed JPEG modes.
Version 2.01, released 14 October 2026, added Pre Release Capture support through compatible Bluetooth remotes and expanded Focus Limiter compatibility to selected NIKKOR Z lenses. It also fixed burst-shooting exposure issues and some problems with adapted F mount lenses. Birds mode arrived with 2.00, rather than 2.01.
Open Setup Menu → Firmware version, then compare your installed version with Nikon’s official firmware release notes. Check the listed lens support before planning your setup.

You don’t need maximum shooting speed for every animal. Start with its movement, your lens, and the available light. These settings are practical starting points; magnify a few images to check the eye and fur before continuing.
| Setting | Starting Value | Why | Change When |
|---|---|---|---|
| Exposure mode | Manual + Auto ISO | Keeps shutter speed and aperture under your control. | Use fixed ISO in consistent light. |
| Focus mode | AF-C for movement; AF-S optional for stationary animals. | Matches focus behavior to movement. | Switch to AF-C when movement becomes likely. |
| AF area | Single-point through clutter; Wide-area or 3D Tracking for movement. | Helps keep attention on your subject. | Narrow the area if vegetation attracts focus. |
| Subject detection | Try Animal in supported AF-area modes. | May help identify the animal. | Position focus yourself if recognition fails. |
| Image quality | RAW | Preserves editing flexibility. | Use JPEG when your capture mode requires it. |
| Shutter type | Mechanical for general use; electronic for quiet shooting. | Balances shooting needs. | Check electronic-shutter images for distortion or banding. |
| Burst | Single frames or short continuous bursts. | Limits unnecessary files. | Increase the rate for brief action. |
| Auto ISO | ISO 100 minimum; ceiling based on your output needs. | Responds to changing light. | Raise the ceiling if it causes underexposure. |
| Stabilization | Enable compatible IBIS/lens VR for handheld shooting. | Reduces camera shake. | Follow lens guidance for tripod use. |
| Exposure checks | Histogram and highlight warnings. | Helps identify clipped highlights. | Adjust exposure for bright fur or sky. |
Swipe left or right to see all columns.
Pick the settings that match your scene, then take a few frames. If the eye looks soft, check focus placement and shutter speed before changing anything else.
Try 1/250–1/800s for resting mammals, depending on focal length, support, and small movements. Start around 1/800–1/1600s for walking animals and 1/1600–1/3200s or faster for running wildlife.
Adjust for species, distance, and direction of movement. Deliberate panning uses slower speeds for creative blur. Your output matters too: slight softness visible in a large print may go unnoticed in a small web image.
Use your lens’s widest available aperture when light fades. At a focal length where its maximum is f/6.3, you cannot select f/4. Stop down when you need more depth of field and have enough light.
Prioritize a sharp animal over an unnecessarily low ISO. If your ISO ceiling causes underexposure, reconsider it. Protect important highlights and inspect RAW shadows; aggressive brightening can reveal noise.
While researching this guide, I found a Z6 III owner’s discussion about soft wildlife photos. The owner reported shooting at f/8 and 1/3200s, with Auto ISO reaching 20,000. In follow up comments, the photographer attributed some detail loss to noise reduction and mentioned forgotten positive exposure compensation that had pushed ISO higher a useful reminder to review your settings before blaming autofocus.
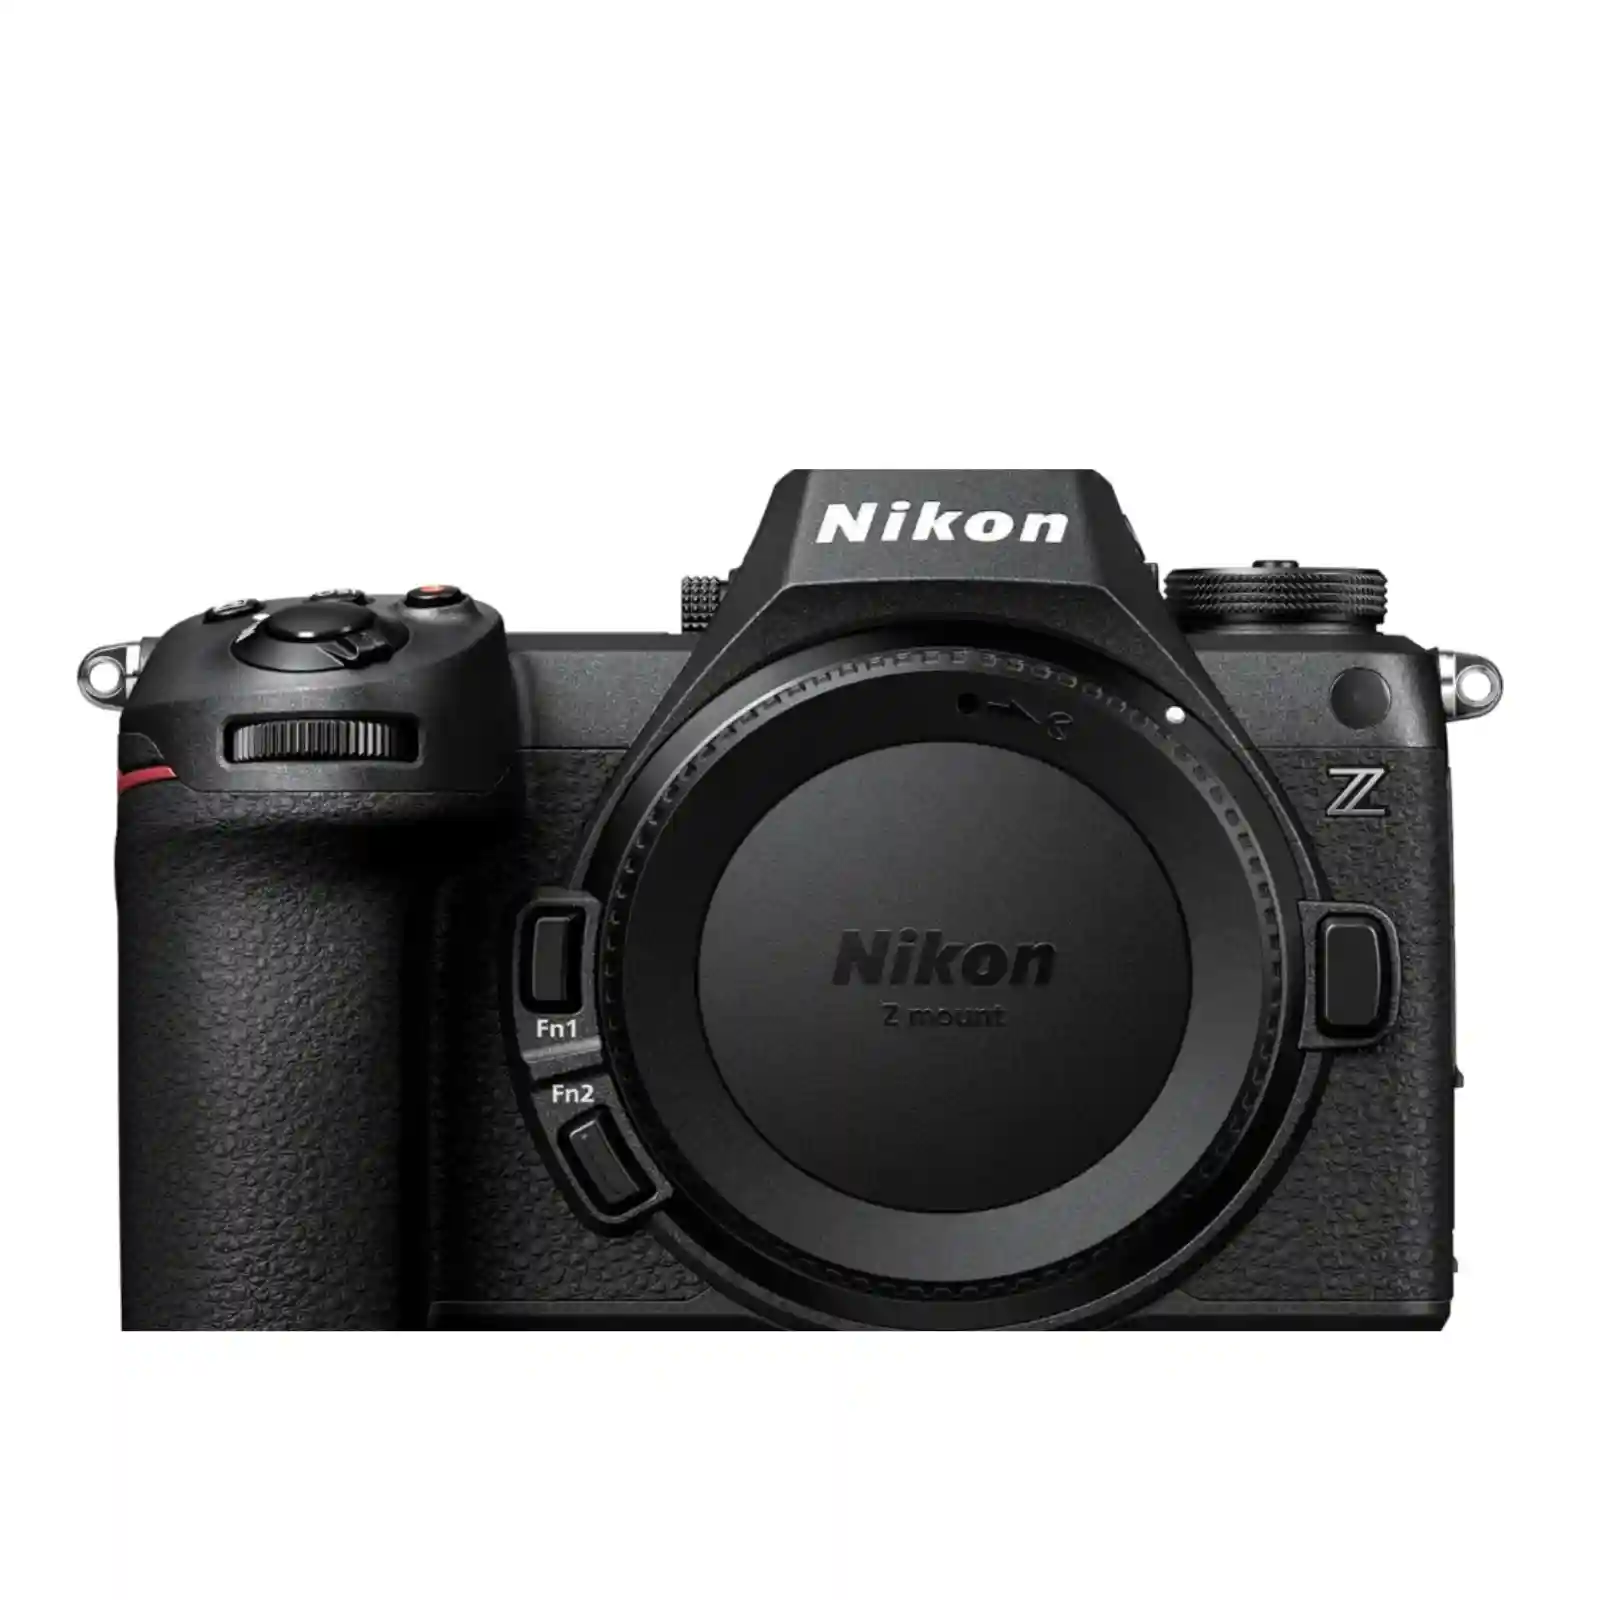

If focus keeps landing on grass instead of your subject, start by checking what sits inside your AF area. Choose a mode that suits the animal’s movement and how clearly you can see it, then change one setting at a time.
Nikon’s autofocus guide describes Animal detection for dogs, cats, and birds. Wild-mammal recognition varies with appearance and conditions; it does not guarantee eye detection for every deer, fox, or big cat.
An eye box indicates recognition, not a guaranteed sharp result. Distance, low contrast, blocked eyes, foreground objects, and subject movement still matter. Magnify a captured image to check the eye.
Firmware 2.00 added a separate Birds option. For its setup, see my Nikon Z6 III bird photography guide.
When light keeps changing, Manual mode with Auto ISO makes exposure easier to manage. Set your shutter speed and aperture, and the camera adjusts ISO as brightness changes.
Use a wider aperture in low light, or stop down slightly when you need more of the bird in focus. Higher ISO can add noise, but choosing a shutter speed that’s too slow may leave your subject blurry.
White feathers looking too bright? Try negative exposure compensation to protect highlights. If a dark bird appears too dark against a bright sky, positive compensation may help when using Auto ISO. Check your histogram and image preview before making further adjustments, following Nikon’s official exposure guidance.
Single-point AF gives precise placement on stationary or partly obscured animals. Pinpoint offers a smaller point but works only in AF-S; use it for truly static precision, rather than continuous tracking.
Wide-area AF (S/L/C1/C2) keeps focusing within a selected zone. C1/C2 allow custom dimensions, but nearer foreground objects inside the zone can attract focus.
3D Tracking with AF-C follows an acquired target through the frame. It does not require a species-recognition box. Release and reacquire if tracking switches away.
Dynamic-area AF (S/M/L) uses AF-C and your selected point, with surrounding points helping when the subject briefly slips off it. Unlike Wide area’s zone based selection, you remain responsible for keeping the chosen point on the animal.
| Scene | Suggested Mode | Main Failure | Fallback |
|---|---|---|---|
| Resting, partly hidden | Single-point | Point catches a twig | Reposition on visible eye/head |
| Clear subject within a zone | Wide-area | Nearer foreground wins | Smaller zone |
| Moving across the frame | 3D Tracking | Tracker switches subjects | Release and reacquire |
| Predictable action | Dynamic-area S/M | Point drifts off animal | Recenter; adjust area size |
If focus keeps missing the animal, use the fallback in the table before changing several settings at once. Take a few shots, magnify the eye, and check whether focus has improved. If vegetation still blocks your subject, changing your viewpoint may help more than switching AF modes.
Check obstructions, subject size, AF window size, distance, and camera movement first. Narrow the area and aim at visible eye, head, or fur contrast. Temporarily reacquire on a clear body edge, or change viewpoint when vegetation blocks your target.
On supported lens/firmware setups, Focus Limiter reduces searching outside your chosen distance range. Branches within that range can still attract focus.
Swipe left or right to follow the tree.
Follow the tree based on whether your animal is still or moving and how clearly you can see it. After a few shots, zoom in on the eye. If it looks soft, check where focus landed and whether movement caused blur before changing your AF mode.
A resting deer and a running fox need different priorities. Use these scenarios to choose a starting setup, then adjust when movement, visibility, or light changes.
Watch for: Branches stealing focus or shallow depth of field.
Watch for: Lost tracking or motion blur mistaken for missed focus.
Watch for: Tight framing or vibration softening detail.
Watch for: Noise or lost detail. Inspect captured images closely.
Watch for: Too few subject pixels or heat haze despite accurate focus.
Watch for: Focus switching animals or faces outside the sharp zone.
Swipe left or right to explore all 6 setups.

If animals look too small in your photos, prioritize reach. If movement blurs as daylight fades, maximum aperture matters more. The best lens for your Nikon Z6 III depends on which problem you face most and how much weight you can comfortably carry.
This zoom suits distant, shy mammals and mixed wildlife at changing distances. Its main compromises are weight and the f/6.3 maximum aperture at 600mm. When insufficient reach forces heavy cropping, a longer lens may address your problem more directly than replacing the camera body.
For large animals nearby, the 100mm end gives you room to include their surroundings. It also carries less weight than the 180–600mm. Choose it for flexible safari framing and travel, while accepting that 400mm may be short for small, distant subjects.
At 400mm, f/4.5 provides roughly one stop more light than f/6.3, helping maintain shutter speed at a lower ISO. Its relatively light build suits walking, but the fixed focal length limits framing flexibility and offers less reach than 600mm.
Its Phase Fresnel (PF) element helps keep a 600mm lens comparatively portable. It suits photographers who regularly need distant subject reach. However, you cannot zoom out for approaching animals, and f/6.3 remains a limitation in deep shade.
The NIKKOR Z DX 50–250mm f/4.5–6.3 VR triggers DX crop on the Z6 III, reducing the largest image to approximately 10.6MP. Consider it a lightweight budget option, rather than an equivalent substitute for a full frame long telephoto.
An existing F-mount telephoto may be worth keeping. Check Nikon’s official FTZ compatibility guide for model specific autofocus and VR support before choosing an FTZ II.
| Lens | Typical Subject Distance* | Maximum Aperture | Focal-Length Flexibility | Approx. Weight** | Main Limitation |
|---|---|---|---|---|---|
| 180–600mm | Medium to far | f/5.6–6.3 | Zoom | 1,955g | Heavier to carry |
| 100–400mm | Near to medium | f/4.5–5.6 | Zoom | 1,355g | Less reach for distant subjects |
| 400mm f/4.5 | Medium to far | f/4.5 | Fixed | 1,160g | Cannot adjust framing by zooming |
| 600mm f/6.3 PF | Far | f/6.3 | Fixed | 1,390g | Tight framing; limited aperture in shade |
Swipe left or right to view all columns.
Still unsure which lens fits you? Think about your most frustrating missed shot: was the animal too far away, too close to frame, or moving in poor light? Let that answer guide your choice more reach, zoom flexibility, or a wider aperture.

Before the action starts, decide whether you need editing flexibility or closely spaced frames. The fastest mode is useful only if its format and restrictions suit your shot.
For editable sequences, choose continuous RAW shooting. Continuous H (extended) reaches approximately 20fps with the electronic shutter, depending on settings. C15/C30/C60/C120 record JPEG; C120 uses DX crop rather than full-frame RAW.
Firmware 2.00 added C15 and a separate JPEG quality setting for HSFC modes. These modes use electronic capture and exclude flash, so consider distortion, lighting, and exposure restrictions before choosing them.
Half-pressing the shutter buffers images; fully pressing saves the selected pre release window, up to one second. This can help catch sudden movement, provided buffering started beforehand it cannot guarantee the decisive frame.
Pre Release Capture follows HSFC’s JPEG restrictions. Firmware 2.01 extends support to compatible Bluetooth remotes.
Nikon offers Lossless compression, High Efficiency★, and High Efficiency. Lossless preserves the original RAW information; the efficiency options prioritize smaller files, with ★ favoring quality over standard High Efficiency.
Check your editing software’s support and inspect demanding edits before choosing compression for an important trip.
The Z6 III accepts CFexpress Type B/XQD in one slot and SD, including UHS-II, in the other. Check Nikon’s approved cards and carry spare storage.
To compare cards, keep the scene, burst duration, format, and camera settings unchanged. Change only the card, time how long the buffer takes to clear, and repeat.
Considering an SD card for your second slot? View the Lexar Professional 2000x UHS-II below.
| Mode or Feature | Format | Useful For | Key Restriction |
|---|---|---|---|
| Continuous H / H (extended) | RAW available | Editable action sequences | Speed depends on shutter and settings |
| C15 | JPEG | Fewer frames per sequence | Firmware 2.00+; HSFC restrictions apply |
| C30 | JPEG | Brief action | HSFC restrictions apply |
| C60 | JPEG | More closely spaced frames | More files to store and review |
| C120 | JPEG | Very brief movement | DX image area only |
| Pre-Release Capture | HSFC JPEG | Movement before the full shutter press | Buffering must already be active |
| Auto Capture | Depends on settings | Automatic shooting when selected criteria match | Firmware 2.00+; setup restrictions apply |
Swipe left or right to view all columns.
Choose the mode that solves your immediate problem: RAW for editing flexibility, Pre-Release Capture for sudden movement, or a faster JPEG burst for brief action. Before heading out, shoot a short sequence and check how quickly your camera is ready for the next one.
Select your answers below. Your suggestion updates automatically.
Select an answer to begin.
Planning guide only. Confirm lens support and capture restrictions in Nikon’s manual. Subject recognition is not guaranteed.
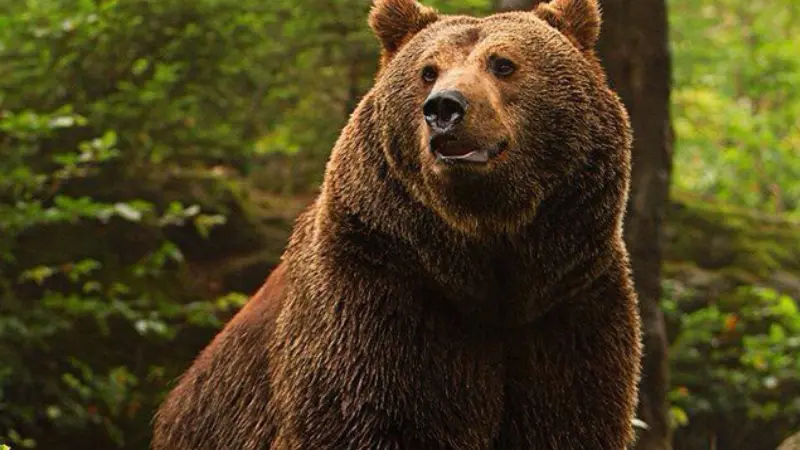
A sharp eye doesn’t always mean detailed fur, especially when the animal is distant or standing in deep shade. Understanding where detail gets lost can help you decide whether to change your settings, position, or equipment.
Yes, when enough pixels cover the animal for your intended output. Switching from FX to DX crops the image; it adds no optical reach. A crop that looks good on a phone may lack detail in a large print. The Z8’s 45.7MP provides more cropping room, but resolution alone does not determine the better setup.
DPReview found less low ISO deep shadow recovery than the Z6 II and Zf. This becomes noticeable when heavily brightening dark areas; it does not make normal low light photography unusable. Protect important highlights while avoiding unnecessary underexposure of shaded fur.
Check heat shimmer, atmospheric haze, excessive cropping, strong high ISO noise reduction, and shutter blur before blaming autofocus. Accurate focus cannot recover detail lost to those factors.
Before changing several settings, inspect one disappointing frame closely. What looks sharp and where can help you separate missed focus from movement or lost detail.
| Observed Result | Likely Reason | How to Confirm | Next Action |
|---|---|---|---|
| Grass sharp, animal soft | Wrong AF target | Inspect the sharpest plane | Reduce AF area; reacquire |
| Body sharp, eye soft | Focus placement or shallow depth of field | Compare eye and body detail | Target eye; stop down if light allows |
| AF box on animal, image soft | Misfocus, movement, or obstruction | Magnify eye and nearby fur | Identify the cause before changing AF |
| Running animal blurred | Slow shutter or uneven tracking | Look for directional streaks | Raise shutter speed; track smoothly |
| No eye detection on deer or fox | Recognition not guaranteed | Check whether precise AF works | Use Single-point or 3D Tracking as appropriate |
| Grainy, brightened shadows | Weak light or underexposure | Compare original exposure and edit | Improve exposure; avoid excessive shadow lifts |
| Cropped fur lacks detail | Too few subject pixels or atmospheric haze | Inspect uncropped image and distant edges | Improve reach or position without disturbing wildlife |
| Burst slows or seems frozen | Buffer, card, format, or another fault | Check r-counter and writing indicator | Review compatible media and mode; investigate persistent lockups |
| Focus Limiter seems ineffective | Incorrect range or unsupported setup | Check a15, firmware, and lens support | Correct range; verify compatibility |
Swipe left or right to view all columns.
Buffer note: r000 means the buffer is full and shooting slows; it does not by itself indicate a fault. For the camera-set Focus Limiter range, set a compatible lens’s physical limiter switch to FULL.
Still getting soft shots? Match your photo to the closest symptom above, change one setting, and take another short burst. Zoom in on the eye to see whether the change helped.

Not sure whether missed shots come from focus, movement, or your memory card? A simple, repeatable check can help you identify what needs attention before changing settings or buying equipment.
Try four repeatable situations: a resting mammal in clear view, a moving mammal through vegetation, an animal in low light, and a distant subject on open ground.
Record firmware, lens, focal length, estimated distance, lighting, AF area, subject detection, shutter speed, aperture, ISO, RAW/JPEG mode, card, and burst length.
Review every frame. Record correct focus placement separately from motion blur, missed framing, false detection, and storage interruptions. Note how long the camera takes to become ready for another burst. Change one variable and repeat.
For example, 14 correctly focused frames out of 20 equals 70%—a hypothetical calculation, not a measured Z6 III keeper rate. This procedure helps you check your own setup; it does not represent testing performed for this guide.

Thinking about upgrading to the Z8? Start with what your current setup struggles to capture. More cropping room can help, but lens reach, carrying weight, and your total budget matter too.
The Z8’s extra pixels help when animals occupy little of the frame. The Z6 III remains practical for portability, budget, and mixed shooting. Before upgrading, ask whether a longer lens would solve your reach problem more directly.
| Consideration | Nikon Z6 III | Nikon Z8 |
|---|---|---|
| Resolution | 24.5MP | 45.7MP |
| Heavy Cropping | Less cropping latitude | More subject pixels with the same lens and framing |
| Handling | Smaller, lighter body | Larger, heavier body |
| Total Kit Budget | Typically leaves more budget for lenses | Typically higher body cost; larger files need more storage |
| Action Capabilities | Up to 20fps RAW*; partially stacked sensor | Up to 20fps RAW*; fully stacked sensor |
| Low-Light Assessment | Judge detail and noise at your intended output size | Compare equally sized images rather than pixel-level noise alone |
Swipe left or right to view the full comparison.
Still deciding whether the Z8 is worth the upgrade? Explore our Nikon Z6 III vs Z8 comparison to see how crop room, handling, and total cost fit your wildlife needs before spending your lens budget on a new body.
The Z6 III suits enthusiasts photographing mixed mammals and action who want capable tracking in a manageable body. Before upgrading, identify whether your main limitation is reach, cropping room, or shooting technique
Pack a compatible fast card and spare, charged batteries, charging equipment, lens hood, monopod or beanbag, protective cover, and cleaning kit.
Before leaving: Check firmware, AF mode, image quality, shutter type, and free space. Balance your long lens comfortably, prepare for weather changes, and avoid lens changes in blowing dust.
Keep your distance, avoid baiting, and leave active nests and dens undisturbed. Follow guides and local rules.
Know when to stop: Move away if animals show stress. Avoid harmful flash or AF-assist lights, and keep sensitive wildlife locations private.
Consider the Z8 when heavy cropping regularly limits usable detail. Choose a longer lens when animals remain too small in the frame.
Keep your current body if missed shots mainly come from AF-area selection, motion blur, or handling. Refine those first.
Set up your three AF fallbacks and practice switching between them with your own lens in one repeatable scene. Review the results before deciding what to change.
The Nikon Z6 III makes sense for wildlife photographers who want fast shooting, flexible autofocus, and a manageable body. Getting more usable photos starts with matching your AF area to the scene, choosing enough shutter speed for movement, and giving distant animals enough space in your frame to retain detail.
Before spending on an upgrade, identify what is limiting your shots. Better lens reach may help more than a new body, while the Z8’s extra resolution is worth considering for frequent heavy cropping. Start by setting up your three AF fallbacks and practicing with your own lens in one repeatable scene always keeping the animal’s welfare first.
Nikon’s Animal documentation describes dogs/cats/birds; do not guarantee eye recognition on
all wildlife; offer selected AF area workaround.
Single-point or precise area on visible animal detail; verify focus, adjust position; a3 and limiter
have limits.
Answer with shutter/aperture/Auto ISO trade-offs, noise and deep-shadow caution.
Depends on animal size and distance; often enough for large near mammals, insufficient for
small distant subjects.
No: C120 is a high-speed JPEG mode and DX area. Keep distinct from standard continuous RAW
shooting
Explain 2.00 adds dedicated Birds, Focus Limiter and Auto Capture; 2.01 improves remote prerelease and lens support/fixes. Check installed version.
No, camera mode, file format, scene length and card compatibility matter; describe matched
test.
Z8 higher resolution affords more cropping, but lens reach, budget and carrying priorities determine suitability
Humna is an author and researcher at HZ Lens Lab with four years of experience researching cameras, lenses, and photography techniques. Her background in photography, combined with independent research and insights from experienced photographers, informs her approach to creating clear, practical guides that help photographers choose the right equipment based on their individual needs and the type of photography they do.
HZ Lens Lab is a camera and lens research website run by two sisters, Humna, an author and researcher, and Zainab, the site’s editor. We create practical camera reviews, buying guides, and comparisons that make photography equipment easier to understand.
Our content combines firsthand experience when we’ve personally used or tested equipment, real-world insights from professional photographers and camera owners, manufacturer specifications, and careful independent research. We clearly identify personal observations where applicable and explain equipment strengths, limitations, and real-world performance.
Our focus is on accurate information, balanced recommendations, and practical guidance that helps you choose and use the right camera gear based on the type of photography you do, your individual needs, and your budget.
For this wildlife guide, Humna compared Nikon’s documentation and firmware notes with independent reviews and published photographer experiences. The research focused on five practical areas:
Use this field check procedure with your own camera and lens to identify what causes missed shots. Change one setting at a time and compare the results.
Read our Sigma BF review for owner feedback, pros, cons,...
Read MoreOur Fujifilm X-H2 review covers image quality, autofocus, 8K video,...
Read MoreRead our Ricoh GR IV review with key specs, pros,...
Read More