Quick Answer
For street photography, start with Aperture Priority, Auto ISO, AF C, 3D Tracking, and People detection. Use Matrix metering, Auto White Balance, RAW, and the mechanical shutter.
In daylight, try f/4 f/8 and 1/250s minimum shutter speed. Choose 28mm for everyday shots, 35mm f/1.4 for low light, 40mm for candids, or 26mm for compactness.
These are starting points. Adjust your settings based on lighting and subject movement.
Street photography moves fast. One moment you are shooting in bright sunlight, and the next you are dealing with deep shade, moving people, busy crowds, or low light. A good Nikon Z6 III street photography setup should help you adapt without constantly digging through menus.
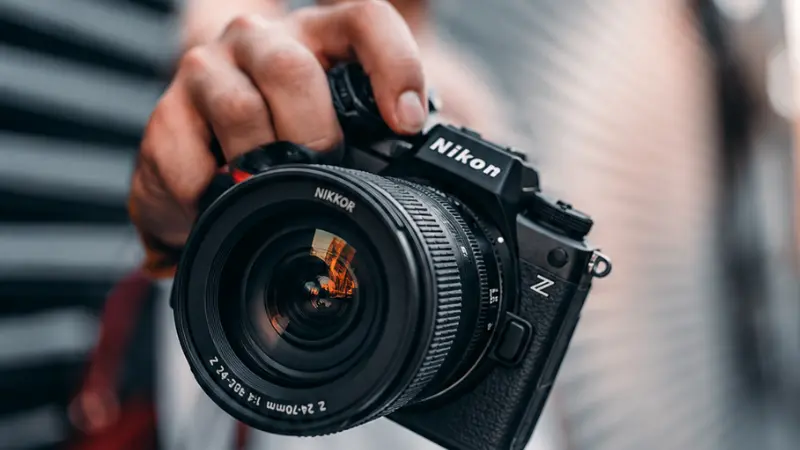
The Z6 III is well suited to these changing situations. Its autofocus options, flexible subject detection, 5 axis in body stabilization, and customizable controls can make it easier to react when the scene changes.
You can also pair the camera with compact Z mount primes for a lighter, less distracting walk around setup.
This guide covers the best Nikon Z6 III street photography settings, autofocus setup, compact lens choices, day and night presets, silent shutter cautions, and a simple walk around workflow, all based on Nikon documentation, specialist reviews, and detailed research.
KEY TAKEAWAYS
- Use AF-C for street photography when people or subjects are moving.
- Start around 1/250s for everyday movement; use 1/500–1/1000s for faster action.
- IBIS reduces camera shake, but it cannot freeze a moving subject.
- A compact prime lens can make your setup more discreet.
- Use silent shooting carefully around artificial light and fast motion because banding or distortion can appear.
- Choose focal length based on your preferred working distance and how close you like to shoot.
How This Guide Was Researched
This guide is based on Nikon’s official documentation, specialist camera reviews, and independent research into street photography settings and lens choices. We also consider real-world photographer and camera-owner feedback where relevant to explain practical strengths, limitations, and shooting recommendations.
Is the Nikon Z6 III Good for Street Photography?
Yes, the Nikon Z6 III is a strong choice for street photography, especially when you need to react quickly to changing light, moving people, and unpredictable moments. Its 24.5MP full frame files provide plenty of detail for normal cropping without the much larger files associated with higher-resolution cameras.
Why the Z6 III Works Well for Street Photography
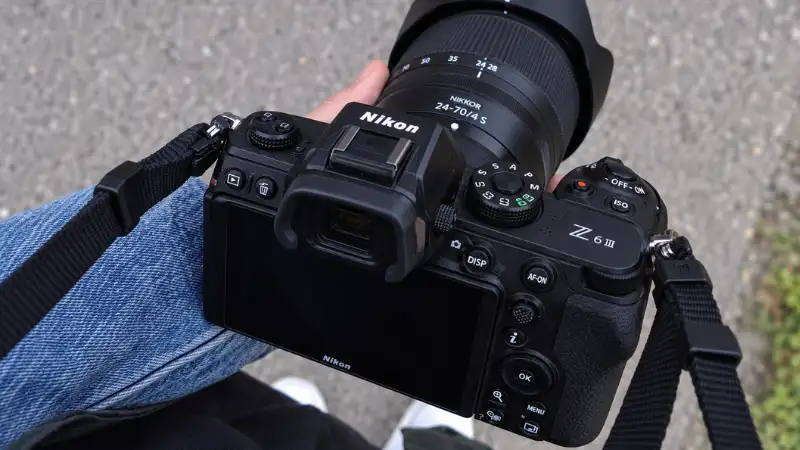
Several Z6 III features are genuinely useful on the street. The high resolution EVF helps you frame and check the scene clearly, while the vari angle touchscreen makes low angle and waist level compositions easier when you do not want to shoot at eye level.
For moving people, AF C, subject detection, and 3D Tracking give you flexible ways to acquire and follow a subject. Customizable controls also help keep frequently used settings within easy reach. The camera’s 5 axis IBIS reduces camera shake in lower light, although it cannot freeze subject movement.
Choosing the Right AF Area Mode
The Z6 III provides Single point, Dynamic area, Wide area, 3D Tracking, and Auto area AF, but they are not equally useful for every street scene.
3D Tracking is useful when you select one person and want the camera to follow them across the frame. Wide area AF gives you more control over where the camera searches in a crowded scene, while Single point AF makes more sense for signs, details, architecture, and other static subjects.
Where the Nikon Z6 III Is Less Ideal
The Z6 III is capable, but there are a few practical trade offs to consider:
- Not pocketable: The body is larger than compact street cameras, so it is harder to carry unnoticed.
- Lens size matters: Large, fast S line zooms can make the setup heavier and more conspicuous. Compact Z primes are better suited to a discreet walk-around kit.
- Silent shooting has limits: Electronic or silent shooting can show flicker or banding under some artificial lighting and distortion with fast-moving subjects.
- Full frame kits get heavy: Pairing the body with fast zooms can add considerable weight during a long day of walking.
- Less room for extreme crops: 24.5MP is enough for normal cropping, but higher resolution cameras give you more freedom to crop heavily.
For most street photographers, these are manageable compromises. The key is to pair the Z6 III with a compact lens and choose the AF-area mode, shutter type, and shutter speed according to the scene rather than relying on one setup for everything.
Best Nikon Z6 III Street Photography Settings at a Glance
For a reliable starting point, use Aperture Priority (A) or Manual with Auto ISO, depending on how much control you want over motion. In daylight, f/4–f/8 and a 1/250s minimum shutter speed give you a practical baseline for everyday street scenes. These are starting points, so adjust them as the light and subject change.
The table below is designed as a quick reference rather than a fixed recipe. It shows both the recommended starting setting and what to change first when movement, crowds, low light, or artificial lighting makes the scene more difficult.
Aperture Priority vs Manual + Auto ISO
Choosing between Aperture Priority and Manual with Auto ISO depends on what is changing fastest in the scene. For everyday street photography, Aperture Priority is usually easier when the light keeps changing, while Manual + Auto ISO gives you more control over moving subjects.
Aperture Priority for Everyday Street Photography
Use Aperture Priority (A mode) when walking between bright streets, shaded areas, storefronts, and darker alleys. You control the aperture and depth of field, while Auto ISO and a suitable minimum shutter speed help prevent the camera from dropping to an impractically slow shutter speed.
This makes A mode a practical choice when the light changes quickly and you want to spend more time watching the scene than adjusting exposure settings.
Manual + Auto ISO for Moving People
Use Manual mode with Auto ISO when shutter speed matters more than changing light. For example, setting 1/500s at f/4 lets you control motion and depth of field while Auto ISO adjusts as brightness changes.
This setup is especially useful for moving people, night street photography, and backlit scenes, or whenever you want more consistent control over how movement appears in the frame.
When Should You Use Full Manual?
Full Manual makes more sense when the lighting stays consistent or when you deliberately want precise exposure for a silhouette or another controlled look. For general walk around street photography, it usually requires more adjustment than necessary.
Shutter Speed, Aperture & Auto ISO Strategy
When you are shooting on the street, the scene can change within seconds. Someone may be standing still, while the next person is walking quickly across the road. That is why your shutter speed, aperture, and Auto ISO should work together instead of staying fixed all day.
Start With the Right Shutter Speed
If you are not sure where to begin, try 1/250s. It is a useful starting point for people walking at a normal pace. If your subject starts moving faster, increase the shutter speed.
- 1/125s: Use this for seated people, static scenes, or quiet moments. It may be too slow for someone walking.
- 1/250s: Start here for normal everyday street scenes.
- 1/500s: Choose this for brisk walkers, candid action, or people crossing the street.
- 1/1000s or faster: Use it for cyclists, runners, traffic, or very quick gestures.
- 1/15s to 1/60s: Try these slower speeds when you intentionally want motion blur or a panning effect.
The last range is a creative choice. You would not normally drop to 1/30s just because the street gets darker if your goal is to keep a moving person sharp.
Choose Aperture Based on Your Scene
If you are shooting at night or want one person to stand out from the background, f/1.4 to f/2 can help. Just keep in mind that your focus needs to be more accurate because the depth of field becomes shallow.
For everyday shooting, f/2.8 to f/4 gives you a comfortable balance. If you want several people or different layers of the street to stay in focus, move toward f/5.6 to f/8. You can use f/11 or smaller when you really need extra depth, but watch your shutter speed and ISO as you stop down.
Let Auto ISO Handle Changing Light
You do not need to keep one ISO limit for every street scene. As a starting point, you can allow ISO 3200 to 6400 in daylight and ISO 6400 to 12800 in mixed light. At night, going higher can be worthwhile if the alternative is unwanted motion blur.
The Z6 III also lets you control maximum sensitivity and minimum shutter speed. You can adjust its Auto minimum shutter behavior faster or slower depending on your focal length and how much movement you expect.
Best Autofocus Settings for Street Photography
Street photography rarely gives you much time to focus and recompose. A person can turn, walk toward you, or disappear into a crowd within seconds. For that reason, your Nikon Z6 III autofocus settings should match how much control you need over the subject.
Start With AF C for Moving People
For most moving street subjects, start with AF C. It keeps adjusting focus as the distance between you and your subject changes, which makes it a natural choice for pedestrians and other unpredictable movement.
If you switch to a static detail, sign, or building, you can use a more precise AF-area mode rather than relying on subject tracking.
Use 3D Tracking for One Person
When you have already picked the person you want to photograph, 3D Tracking can follow that subject as they move across the frame. This is useful when a single pedestrian is approaching you or moving from one side of the scene to another.
In a busy crowd, however, overlapping people can make subject selection more difficult. That is when restricting the focus area can give you more control.
Try Wide Area AF in Busy Scenes
Use Wide area AF when you know roughly where your subject will appear. Instead of allowing the camera to search the entire frame, you can concentrate autofocus within a specific region.
The Z6 III provides Wide area S, L, C1, and C2 options, giving you different ways to define that area. You do not need to switch between them constantly. Choose an area that comfortably covers the part of the frame where you expect your subject.
When Auto Area or Single Point AF Makes More Sense
Auto area AF is useful when something happens suddenly and getting focus quickly matters more than choosing the exact focus region yourself. The trade off is that you give the camera more control over what it prioritizes.
For signs, storefronts, architecture, and small details, Single point AF gives you more precise placement. Dynamic area AF sits between these approaches and can work well when a subject is moving but you still want tighter control over the starting focus area.
Use People Detection as a Helping Hand
With People subject detection, the Z6 III can identify faces and eyes when used with compatible AF area modes such as 3D Tracking, Wide area AF, and Auto area AF. This can make photographing people easier without requiring you to place a focus point directly over an eye every time.
Still, do not expect detection to solve every scene. Small or partially hidden faces, sunglasses, overlapping people, and rapid movement can make detection less reliable.
Which AF Area Mode Should You Choose?
Back Button Focus, Custom Controls & i Menu
You do not need back button focus for street photography, but it can be useful if you prefer keeping autofocus separate from the shutter button. It can also make switching between tracking a moving person and prefocusing on a scene feel more controlled.
Keep Your Custom Controls Simple
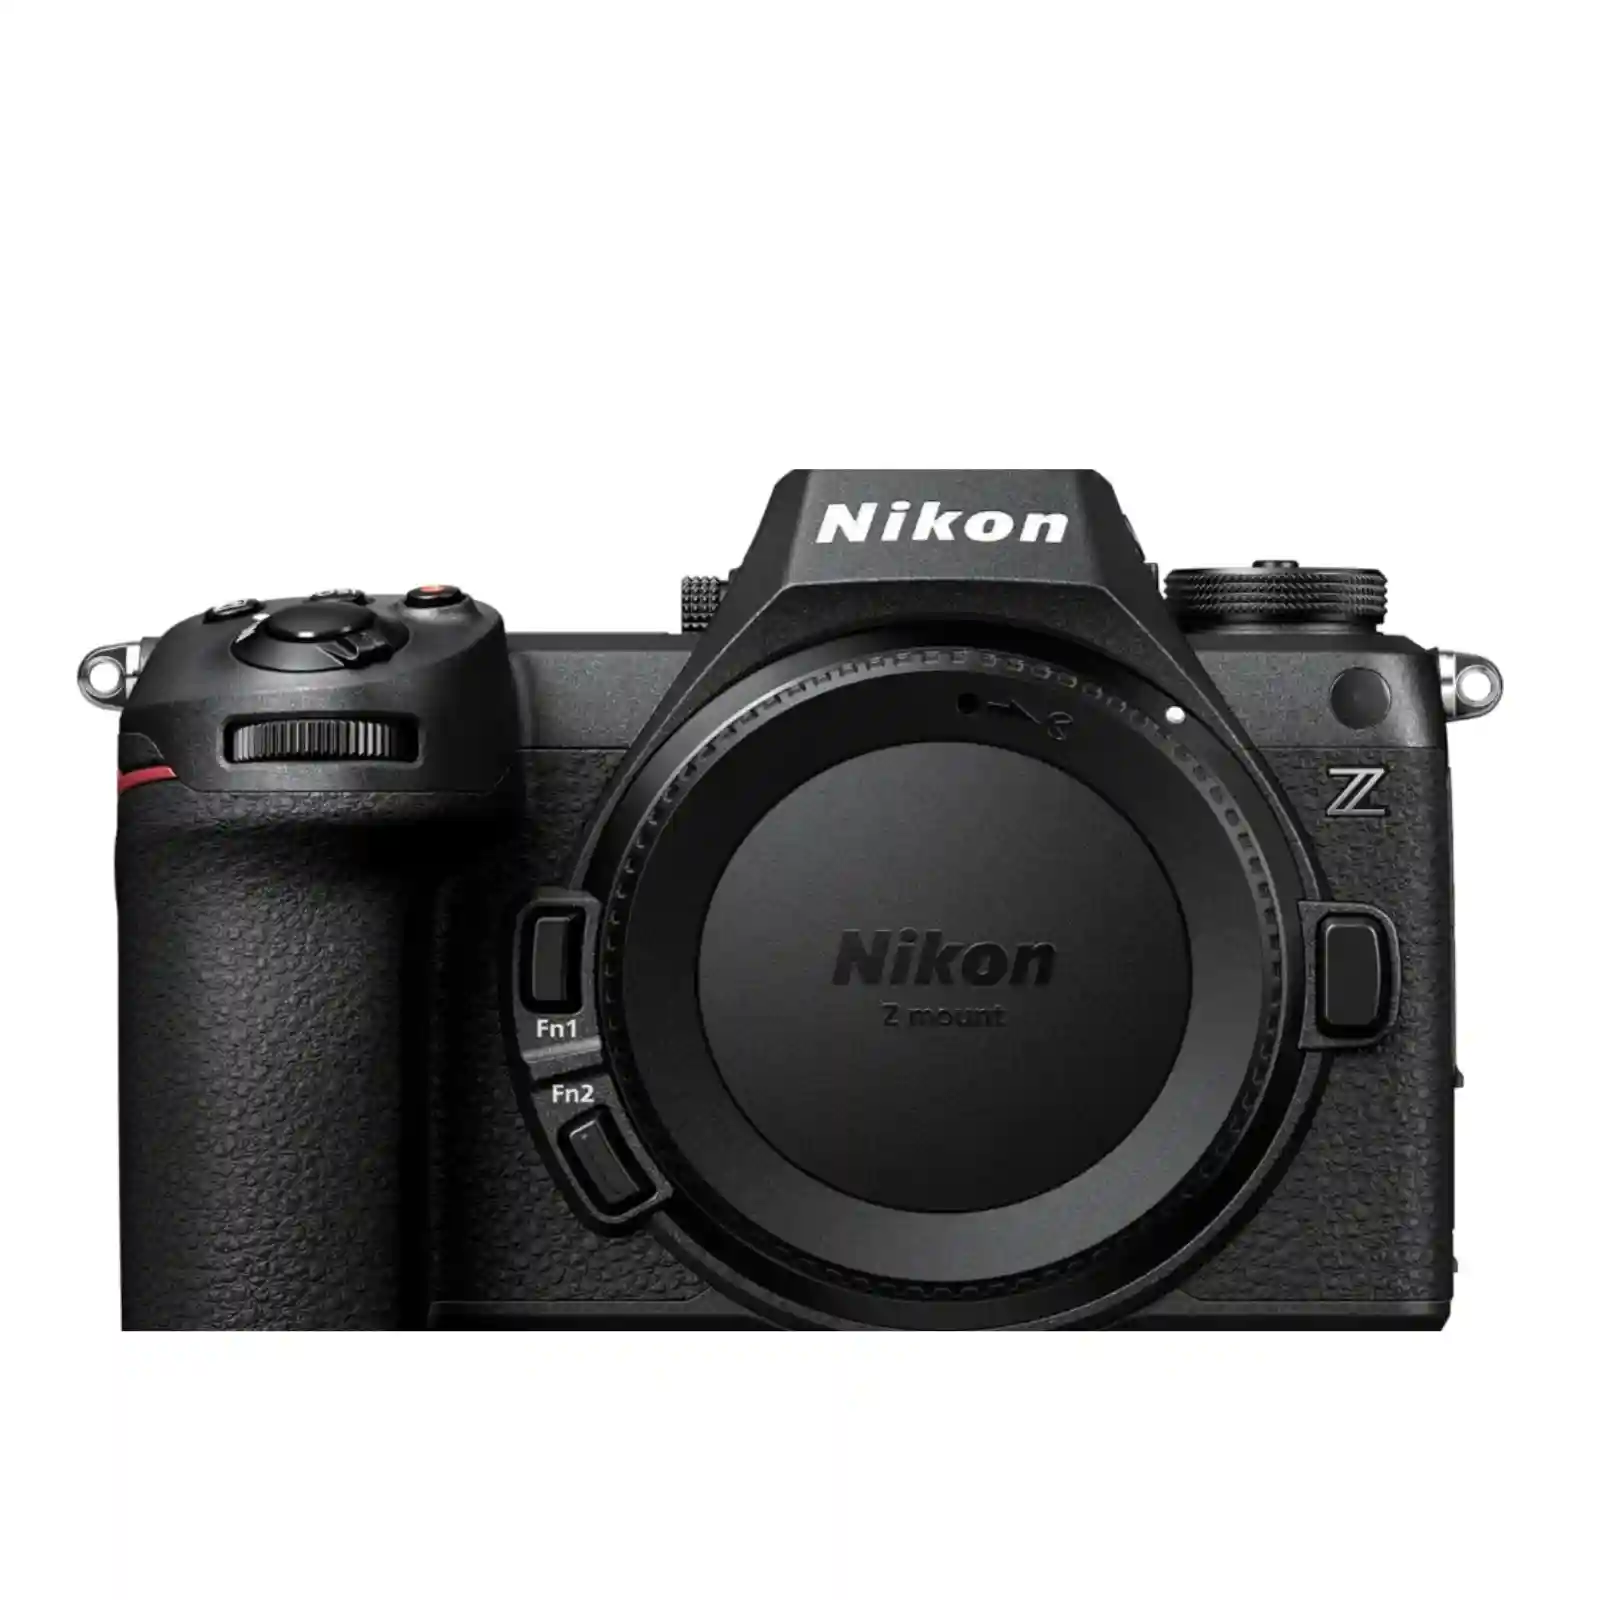
A practical starting layout is to use AF ON for autofocus and keep Fn1 available for a frequently used alternate AF area mode, where supported. This gives you quicker access when a street scene changes and you need a different focusing approach.
You can use Fn2 for another setting you change often, such as subject detection or silent shooting, depending on the available assignment options. If your lens supports control ring customization, exposure compensation or aperture can also be useful choices if they feel comfortable while shooting.
Build a Street Friendly i Menu
Customize the photo i Menu around settings you actually change on the street. Useful options include AF area mode, subject detection, ISO sensitivity settings, metering, white balance, vibration reduction, Picture Control, and silent shooting where available.
You do not need every possible shortcut. Keep your most-used settings easy to reach so you can make quick changes without spending too much time inside the camera menus.
Save Three Street Setups for Fast Recall
When you’re walking around with your Nikon Z6 III, the last thing you want is to keep changing settings while a good moment passes.
Preparing three street photography setups can make it easier to switch between everyday scenes, fast action, and night photography.
Silent Shutter, Electronic Shutter & Flicker
Have you ever noticed how a shutter click can draw attention in a quiet place? That is where silent shooting on the Nikon Z6 III becomes useful. It can help you photograph discreetly in cafés, quiet interiors, ceremonies, or galleries where photography is allowed.
However, using the electronic shutter is not always the best choice, especially when artificial lighting or fast movement is involved.
Mechanical vs Electronic Shutter: Which Is Better?
For most everyday street scenes, start with the mechanical shutter. It is generally a safer choice around moving subjects and artificial lights, although flicker can still occur under certain conditions.
For more information about reducing flicker under artificial lighting, see Nikon’s official guide to Photo Flicker Reduction.
How to Reduce Flicker Under LED Lights
If you’re photographing neon signs, shop displays, or LED lit streets and notice banding, Nikon’s High Frequency Flicker Reduction feature may help.
The Z6 III supports fine shutter speed adjustments in compatible shutter priority and manual shooting settings. You can adjust the shutter speed until the bands become less noticeable.
Take a few sample photos and review the actual results, since the live preview may not show exactly what the final image captures.
Best Nikon Z Lenses for Z6 III Street Photography
The lens you use on your Nikon Z6 III affects more than how much fits into the frame. It changes how close you stand to people, how you capture the surroundings, and how comfortable your camera feels during a long walk.
You don’t need a collection of lenses for street photography. Understanding how different focal lengths work will help you choose the right setup for your shooting style.
When researching lenses, I look beyond focal length and maximum aperture. I also consider portability, everyday usability, and the trade offs each lens brings to real world shooting situations.
NIKKOR Z 28mm f/2.8: For Everyday Street Photography
The 28mm focal length is useful when you want to capture people along with their surroundings. It works well in busy markets, narrow streets, and scenes where buildings and everyday activity help tell the story.
Its compact design also pairs nicely with the Z6 III for longer walks. However, you’ll often need to move closer to your subject, and people near the frame edges may look stretched.
NIKKOR Z 26mm f/2.8: For a Smaller, More Discreet Setup
If you prefer carrying less camera bulk, the 26mm f/2.8 is worth considering. Its slim pancake design makes the Z6 III setup less noticeable and easier to carry throughout the day.
It gives you a slightly wider view than 28mm, although both lenses share the same maximum aperture. The 26mm also generally costs more, so its main advantage is compactness rather than better low-light performance.
NIKKOR Z 35mm f/1.4: For Night Streets and Environmental Portraits
The 35mm perspective offers a useful balance between people and their surroundings. You can photograph someone passing a café while keeping enough background detail to show where the moment happened.
Its f/1.4 aperture helps in low light, especially when you need a faster shutter speed. However, this lens is larger than the compact primes, and its shallow depth of field can make layered street scenes harder to keep sharp.
NIKKOR Z 40mm f/2: For Individual Subjects and Cleaner Frames
Sometimes you want to focus on one person rather than everything happening around them. The 40mm f/2 gives you a slightly tighter view, helping you simplify busy backgrounds.
It also provides a little more working distance than wider lenses while staying compact. The limitation is space. In narrow alleys or small interiors, fitting the whole scene into your frame can be difficult.
NIKKOR Z 28 75mm f/2.8: For Changing Street Scenes
A zoom lens is useful when you cannot easily move closer or farther away. At 28mm, you can include the wider street scene. Moving toward 75mm helps you isolate a person or interesting detail.
This flexibility works well for travel and street events where scenes change quickly. The trade off is its larger size, which makes the Z6 III more noticeable than a compact prime setup.
Nikon Z6 III Street Photography Lens Comparison
26mm vs 28mm vs 35mm vs 40mm: Which Focal Length Fits Your Style?
Choosing a focal length for street photography isn’t just about how much fits into your frame. It also affects how close you stand to people and how you capture the atmosphere around them.
Ready to Copy Nikon Z6 III Street Photography Settings by Scenario
The best Nikon Z6 III street photography settings depend on what you’re photographing. A quiet street, a crowded market, and a moving cyclist all need different approaches.
Use these six setups as starting points. You can adjust them as the light, movement, and surroundings change.
1. Daytime Street Photography
Starting settings: A mode | f/5.6 | Auto ISO | Minimum 1/250s | AF-C | 3D Tracking | People detection | Matrix metering | Auto WB
For everyday street photography, Aperture Priority is a practical choice. It lets you control depth of field while the camera adjusts exposure as you move between sunlight and shade.
Start with a minimum shutter speed of 1/250s for walking subjects. If people move faster, increase it to 1/500s. Use the default shutter setting unless the lighting or situation calls for a change.
2. Night and Neon Street Photography
Starting settings: M + Auto ISO | 1/125–1/250s | f/1.4–f/2.8 | AF-C
Night photography becomes easier when you prioritize shutter speed over keeping ISO extremely low. A wide aperture helps gather more light, while Auto ISO adjusts as you move between brighter and darker streets.
Use around 1/125s for slower subjects and 1/250s for walking people. Watch bright signs to avoid blown highlights, and check for banding under artificial lights before using silent shooting.
3. Moving People and Fast Street Action
Starting settings: M + Auto ISO | 1/500s or faster | Around f/4 | AF-C | 3D Tracking
When photographing runners, cyclists, or people moving quickly, start at 1/500s. If the subject still looks blurred, try 1/1000s when the available light allows.
AF-C with 3D Tracking can help follow a selected moving subject. Use a short burst when timing a single frame becomes difficult, rather than shooting continuously throughout the scene.
4. Crowded Markets and Busy Streets
Starting settings: f/5.6–f/8 | 1/250–1/500s | Auto ISO | AF-C | Wide-area AF
Busy streets often have several people moving at different distances. Using f/5.6 or f/8 gives you more depth of field, helping keep important parts of the scene sharp.
Try Wide-area AF when subject detection keeps switching between faces. Limiting the focus area gives you more control over which person or part of the scene the camera prioritizes.
5. Static Urban Scenes and Architecture
Starting settings: A mode | f/5.6–f/8 | Low ISO when possible | Single-point AF
For shopfronts, buildings, and quiet urban details, you can usually work with slower shutter speeds because the main subject isn’t moving.
Choose a precise focus point and use the camera’s grid or level display to keep your composition straight. Remember that slower shutter speeds can still introduce camera shake, even with stabilization.
6. Panning and Intentional Motion Blur
Starting settings: 1/15s, 1/30s or 1/60s | AF-C | Auto ISO | Default shutter
Not every street photo needs to freeze movement. Panning lets you follow a moving subject while creating motion blur in the background.
Start around 1/60s for a better chance of keeping the subject recognizable. Try 1/30s or 1/15s for stronger motion streaks. Use a mechanical or suitable default shutter mode when electronic shutter distortion is a concern.
Low Angle, Waist Level & Discreet Shooting
Street photography feels more natural when people aren’t distracted by your camera. The Nikon Z6 III’s vari angle touchscreen gives you more freedom to capture everyday moments without always raising the camera to your eye.
Photographing natural surroundings has taught me to notice small details, changing light, and how a different angle can transform an ordinary scene. That habit of observing before taking a photograph is just as valuable in street photography, where composition and timing often matter more than complicated settings.
Here are a few simple ways to shoot more discreetly:
Try waist level framing: Tilt the screen toward you and compose from waist height. This works well in crowded markets, cafés, and busy sidewalks.
Experiment with low angles: Hold the camera lower to include interesting foreground details, reflections, or buildings behind your subject.
Use Touch AF carefully: Tap the screen to select your focus point, but check that touch shutter is disabled if you want to avoid accidental photos.
Keep your setup compact: A 26mm, 28mm, or 40mm prime lens and a wrist strap can make longer walks more comfortable.
Stay ready: Keep your camera accessible instead of repeatedly taking it out of your bag.
Quick Tip: Discreet photography isn’t only about silent shutter. Your camera’s size, movements, and respectful behavior around people often matter more.
Nikon Z6 III Metering, White Balance, RAW/JPEG, Picture Controls & IBIS
Shutter speed and autofocus help you capture the moment, but exposure and image settings also affect how your street photos look. Here’s how to approach them without constantly changing your camera setup.
Metering and Exposure Compensation
Start with Matrix metering for everyday street photography. It evaluates the scene broadly, making it useful when you’re moving between sunlight and shade.
For bright shop windows or neon signs, highlight-weighted metering can help protect important highlights. Use exposure compensation when backlighting, silhouettes, or bright signs need a different exposure. Check the result rather than applying one fixed adjustment everywhere.
White Balance
Auto White Balance is a convenient choice for changing street lighting. Natural Light Auto is another option outdoors, while a fixed white balance helps maintain consistent colors across a photo series.
At night, you don’t always need neutral colors. Warm streetlights and colorful neon can be part of the atmosphere.
RAW, JPEG and RAW+JPEG
RAW: More flexibility for adjusting highlights, shadows, and colors.
JPEG: Convenient when you want photos ready to share.
RAW+JPEG: Useful when you need quick sharing and an editable original.
Picture Controls
Standard or Neutral Picture Control provides a straightforward starting point.
You can also use Monochrome to preview how light, shadows, and shapes work together. If you’re shooting RAW, color information remains available for later editing, although software may interpret the preview differently.
Picture Controls can change the appearance of your images, but they cannot correct missed focus or poor timing.
IBIS and Vibration Reduction
The Z6 III’s in body image stabilization helps reduce camera shake when shooting handheld, especially in low light.
However, stabilization does not freeze moving people. For walking subjects, prioritize an appropriate shutter speed even when IBIS is active.
Nikon Z6 III Street Photography Workflow: Shooting Modes, Quick Setup & Fixes
Once your camera settings are ready, the next step is knowing how to use them without missing the moment. You don’t need to change menus constantly. A simple shooting routine, a reliable starting setup, and a few quick fixes can make street photography easier.
Release Modes, Burst Shooting & Prefocusing
For everyday street photography, Single Frame is a good choice when you want to wait for the right expression or gesture. Continuous Low works well when people are moving and you want a few frames to choose from.
Save faster bursts for unpredictable action. Very high speed shooting can fill your memory card quickly, create extra editing work, and affect available camera features or file options.
You can also try a zone focus style approach:
Choose a distance: Prefocus on a spot where you expect someone to walk.
Use a smaller aperture: Try f/5.6 or f/8 for more depth of field.
Check focus peaking: In manual focus, use it as a visual guide to areas that appear sharp.
Wait for the moment: Let your subject enter the prefocused area before taking the photo.
This is a modern mirrorless approach to prefocusing, not the same focusing system used by traditional rangefinder cameras.
A Simple Set It and Walk Setup
If you don’t want to keep adjusting your Nikon Z6 III, start with this everyday configuration.
Common Nikon Z6 III Street Photography Problems and Fixes
Even with a good starting setup, some photos won’t turn out as expected. Here’s what to check before changing everything in your camera menu.
What Some Z6 III Owners Report About Autofocus
Autofocus performance can depend on the shooting conditions, focus mode, and lens combination. In one discussion on Reddit’s Nikon Z series community, a Z6 III owner described autofocus hunting in AF S under low light conditions while using an adapted F mount lens.
The same owner reported that switching to AF-C with 3D Tracking reduced the hunting, although they still experienced occasions when focus shifted to the background. This is an individual owner’s experience, not proof that all Z6 III cameras have the same problem.
If your focus misses in a similar situation, check your focus mode, AF-area selection, lens or adapter combination, and available light before assuming the camera is faulty.
Source: Nikon Z6 III Owner’s Autofocus Discussion on Reddit
A Simple Street Photography Workflow
Good street photography doesn’t need a complicated routine. A little preparation helps you focus on the people, light, and moments around you instead of constantly checking camera menus.
Recommended Nikon Z6 III Setup by Street Photography Style
Not every street scene needs the same camera settings. The best Nikon Z6 III setup depends on what you want to capture, whether it’s a quick candid moment, a busy street, or colorful neon lights.
Use this quick comparison to choose a practical starting point for your photography style.
Is the Nikon Z6 III Too Big for Street Photography? Who Is It For?
The Nikon Z6 III isn’t a pocket sized camera, but that doesn’t make it a poor choice for street photography. Pairing it with a compact 26mm, 28mm, or 40mm prime lens makes the setup easier to carry and less noticeable than using a large zoom.
Its biggest strengths are reliable autofocus, flexible low light performance, full frame image quality, and a clear electronic viewfinder. You also get practical physical controls, making it a versatile camera for street photography, portraits, and everyday shooting.
Who Should Choose the Z6 III?
The Z6 III makes sense if you:
Already own Nikon Z lenses and want to use your existing gear.
Photograph both street scenes and portraits.
Enjoy night photography or capturing moving subjects.
Prefer one capable camera for several photography styles.
When Might a Smaller Camera Be Better?
If you want something pocketable, lightweight for long walks, or closer to a traditional rangefinder style experience, a smaller camera may suit you better.
The Bottom Line: The Z6 III offers versatility and strong shooting capabilities, but comfort matters too. Choose it if its features fit your photography style, not simply because it has more advanced specifications.
Is the Nikon Z6 III enough for your photography, or would stepping up to the Z8 make more sense? See our Nikon Z6 III vs Z8 comparison to understand the key differences and choose the camera that fits your needs.
Final Verdict: Is the Nikon Z6 III Worth It for Street Photography?
The Nikon Z6 III is a strong choice for street photography because it lets you move easily between quiet scenes and fast moving subjects. Its real advantage is the flexibility to control autofocus and exposure without constantly changing your setup.
For everyday shooting, the 28mm f/2.8 is a compact option, while the 35mm f/1.4 works well in low light. The 40mm f/2 suits tighter candid compositions.
Start with AF C, subject tracking, and Auto ISO for changing street conditions. Keep the mechanical/default shutter as your safer starting point around LED lights and fast movement, using silent mode selectively when needed.
FAQs