

Read our Sigma BF review for owner feedback, pros, cons,...
Read MoreNikon Z6 III for Bird Photography: Best Lenses, Settings & Complete Setup
22-Oct-2026 / Content written by Humna!
Quick Answer: Is the Nikon Z6 III Good for Bird Photography?
Yes, the Nikon Z6 III is a strong choice for bird photography, particularly for fast moving birds and wildlife action. Its 24.5MP partially stacked full frame sensor, responsive autofocus, and high speed bursts help capture unpredictable moments. However, its resolution limits heavy cropping of distant birds.
For a starting setup, use AF-C with Birds detection (firmware 2.00 or later), 3D Tracking or Wide-area AF, and Manual exposure with Auto ISO. Try 1/2000–1/3200s for birds in flight and 1/500–1/1000s for perched birds.
Adjust these settings based on movement, lighting, and background complexity.
Chapters
Ever missed a bird taking off, watched your autofocus lock onto branches, or struggled to freeze wings in flight? Maybe your bird still looks tiny at 600mm, or your early morning shots turn out noisy. These problems can make bird photography frustrating, even with a capable camera.
Getting sharp results with Nikon Z6 III bird photography requires the right combination of lens, autofocus, exposure settings, and shooting technique.
This guide helps you choose suitable lenses, adjust focus and shutter settings, and fix common problems when conditions change, whether you’re photographing perched birds, fast moving subjects, cluttered backgrounds, or wildlife at dawn and dusk.
KEY TAKEAWAYS
• Use AF-C with Birds subject detection on firmware 2.00 or later to help maintain focus on moving birds.
• Start around 1/500–1/1000s for perched birds and 1/2000–1/3200s for birds in flight.
• Choose the NIKKOR Z 180–600mm for distant birds or the 100–400mm for a lighter, more portable setup.
• Switch between 3D Tracking and Wide-area AF when branches or busy backgrounds interfere with autofocus.
• Use Manual exposure with Auto ISO to balance shutter speed and brightness, especially in low light.
• Try Pre-Release Capture for sudden takeoffs, but check its shooting-mode and file-format restrictions.
INSTANT PROBLEM SOLVER
Nikon Z6 III Bird Photography Fix Tool
Choose your problem and get an instant solution.
?
Select a problem above to see your recommended fix.
WHY THIS HAPPENS
YOUR FIRST SOLUTION
Autofocus
Shutter Speed
Still not fixed?
Settings are starting points. Adjust for bird movement, lighting and lens. Dedicated Birds detection requires compatible Z6 III firmware.
How This Guide Was Researched
For this guide, I examined Nikon’s official Z6 III documentation, firmware updates, autofocus features, and lens specifications, then compared those details with specialist reviews and discussions from bird photographers using the camera.
I focused on the challenges that matter most in bird photography: keeping focus on moving birds, choosing enough lens reach, handling busy backgrounds, and balancing shutter speed with available light.
I also considered photographer reported experiences, including a Nikon Z6 III bird photography session in Hong Kong, to connect the technical information with real shooting situations. These findings helped shape the practical settings, lens recommendations, and troubleshooting advice throughout this guide.
What Makes the Nikon Z6 III Suitable for Bird Photography?

The Nikon Z6 III offers a useful balance of speed, autofocus performance, and image quality for bird photography. But how well it works depends on the bird’s movement, distance, and shooting conditions. Understanding its strengths and limitations helps you get more from the camera.
Autofocus, Sensor Speed, and Tracking
Following a bird that suddenly changes direction isn’t easy. The Nikon Z6 III’s 24.5MP partially stacked sensor provides faster readout, while its responsive autofocus and tracking help you follow unpredictable movement with less viewfinder lag.
But what happens when the camera recognizes a bird and the photo still looks soft? Subject detection can identify a bird or its eye, but it doesn’t guarantee accurate focus. Small subjects, hidden eyes, poor contrast, and awkward angles remain challenging.
One photographer described this exact problem in a Reddit discussion: the focus box stayed on a bird while the actual focus shifted behind it.
The Real Limitations
If you often photograph distant birds, cropping flexibility matters. The Z6 III’s 24.5MP sensor leaves less room for heavy cropping than the 45.7MP Z8. DX mode narrows framing but reduces resolution to approximately 10.6MP without adding detail.
And while fast bursts capture more moments, they won’t fix missed focus or motion blur.
Quick Verdict
Strong Fit: Photographers wanting fast tracking, a manageable full-frame body, and versatility.
Consider Alternatives: Those regularly photographing tiny, distant birds who need greater cropping flexibility.
Best Nikon Z6 III Lenses for Bird Photography

The best lens depends on the birds you photograph, their distance, and how much gear you’re comfortable carrying. Some lenses prioritize reach, while others make handheld shooting easier. Here’s how to choose the right one for your Nikon Z6 III.
NIKKOR Z 180 600mm f/5.6-6.3 VR Best for All Round Reach
Photographing distant waterbirds, raptors, or birds in flight? The 180–600mm offers flexible reach without constantly changing lenses. Its internal zoom design keeps the lens length constant, helping maintain balance while tracking birds.
However, its weight makes long walks tiring, and the f/6.3 maximum aperture at 600mm can mean higher ISO in low light. Choose it when reach matters more than portability.
Real World Photographer Example: Nikon Z6 III Bird Photography in Hong Kong
In a December 2024 discussion on Reddit’s r/BirdPhotography community, a photographer shared bird photographs from a two hour session using the Nikon Z6 III paired with the NIKKOR Z 180 600mm lens.
The photographer identified the location as Nam Sang Wai, Hong Kong, and suggested visiting during low tide, highlighting how local conditions can influence bird photography opportunities.
This real world example shows the Z6 III and 180–600mm combination being used for bird photography in a wetland environment. It also reinforces an important field consideration: choosing the right location and timing can be just as valuable as having a long telephoto lens.
The discussion includes photographs and equipment details, although it does not provide specific autofocus settings or measured tracking performance.
Source: Original photographer discussion — Reddit r/BirdPhotography
NIKKOR Z 100 400mm f/4.5-5.6 VR S Best for Walking and Travel
If you spend hours exploring trails, the 100–400mm is easier to carry and handle. Its compact telephoto design works well for larger birds, nearby wildlife, and handheld shooting.
The limitation? Small birds at a distance may still need heavy cropping. It’s a better choice when mobility matters more than maximum reach.
NIKKOR Z 400mm f/4.5 VR S Best Portable Brighter Prime
Want better light-gathering ability without carrying a massive lens? The 400mm f/4.5 offers a relatively bright aperture, manageable weight, and pleasing background separation.
Its fixed focal length works well when you can predict your shooting distance. For tiny birds farther away, though, a longer lens may be more practical.
NIKKOR Z 600mm f/6.3 PF VR S Best for Portable Long Reach
The 600mm f/6.3 PF is worth considering if you regularly photograph small, distant birds. Its Phase Fresnel design keeps it relatively lightweight for a 600mm prime.
You’ll pay more for that portability and lose zoom flexibility. Nikon’s premium 600mm f/4 TC VR S offers a brighter aperture and built-in teleconverter, but its price and weight make it a specialized investment.
Budget Lenses, F Mount Adapters, and Teleconverters
Already own an F mount telephoto lens? Using an FTZ or FTZ II adapter may be more affordable than buying new Z-mount glass. Nikon’s compatibility guide explains why you should check lens-specific autofocus support before purchasing.
A used compatible telephoto can also be a budget option. Teleconverters provide additional reach, but reduce the effective maximum aperture and may affect autofocus performance. Check compatibility with your exact lens.
Why Is My Bird Still Tiny at 600mm?
Even at 600mm, a small bird far away may occupy very little of the frame. Heat distortion over long distances can also soften fine feather detail.
Try improving your position or waiting for the bird to come closer without disturbing it. DX crop mode doesn’t add magnification or detail; on the Z6 III, it simply records a tighter 10.6MP image.
Nikon Z6 III Bird Lens Comparison
| Lens / Category | Best Use | Main Trade-off |
|---|---|---|
| 180–600mm | Distant birds, versatile field use | Weight; f/5.6–6.3 in poor light |
| 100–400mm | Travel and mobile shooting | Less reach for small birds |
| 400mm f/4.5 | Portable brighter prime | Fixed focal length |
| 600mm f/6.3 PF | Portable long-reach prime | Fixed framing; cost |
| Adapted / TC | Existing gear or added reach | Compatibility; AF/aperture trade-offs |
Which lens is worth carrying into the field? The right choice depends on how close you can get to birds, how much weight you’re comfortable carrying, and whether you need zoom flexibility or a brighter aperture.
Nikon Z6 III Autofocus Setup for Birds

A bird against a clear sky is much easier to track than one moving between branches. That’s why the best Nikon Z6 III autofocus setup isn’t one fixed combination. You need to match the focus area to the scene and know how to regain focus when the camera chooses the wrong subject.
Firmware and Birds Subject Detection
Before changing your settings, open Setup Menu → Firmware version to check your installed version. Nikon introduced dedicated Birds detection with firmware 2.00, replacing the need to rely solely on the older Animal detection option for birds.
On supported firmware, go to Photo Shooting Menu → AF/MF subject detection options → Birds. This helps the camera recognize birds and their eyes, although visibility and subject size still affect detection.
For more details on this feature, see Nikon’s official Birds Subject Detection documentation.
AF-C, 3D Tracking, and Wide-area AF
For birds in motion, start with AF-C so focus can continuously adjust as their distance changes.
3D Tracking: Choose this after acquiring a bird you want to follow across the frame.
Wide-area AF: Use a smaller selected area when birds move through trees or predictable parts of the scene.
Auto-area AF: Convenient for quickly finding birds against an open sky, but less reliable when several subjects compete for attention.
If the camera grabs a branch instead, move to Single-point AF or a smaller Wide-area box, focus on the bird, and then resume tracking.
Bird Eye Detection: When the Focus Box Gets It Wrong
While researching Z6 III autofocus problems, I found a relevant Reddit discussion from a Z6 III owner using the 180–600mm lens. The owner described the camera showing a focus box on a stationary crow while the actual focus fell behind it. This was an individual report using the older Animal detection, not evidence that the newer Birds mode behaves identically.
If you notice something similar, don’t rely on the green box alone. Check the resulting image, especially around the eye. For backlit birds, hidden eyes, or unusual poses, place a smaller focus area over the head and reacquire focus.
Visual Autofocus Guide
Why Your Z6 III Focuses on Branches Instead of Birds
Problem → Adjustment → Reacquire Focus
1
Problem
Branch sharp, bird soft
AF catches a foreground obstruction.
2
Adjustment
Select a smaller AF area
Place it over the bird's head.
3
Reacquire
Focus back on the bird
Check the eye for sharpness.
Which AF Area Should You Use?
Single-point AF: Precise placement for a stationary bird behind branches.
Small Wide-area AF: A controlled area when the bird moves slightly.
Wide-area AF + Birds Detection: Useful for recognizable moving birds, but foreground obstructions can still cause problems.
Struggling to Focus on Birds Through Branches?
If your Nikon Z6 III keeps focusing on branches instead of the bird’s eye, the three step infographic above shows a practical way to respond. Start by identifying what is distracting autofocus, switch to a smaller AF area, and reacquire focus on the bird’s head or eye. This can help you improve focus accuracy when photographing birds in trees or other cluttered environments.
Back-Button Focus and Tracking Customization
Want more control over when autofocus starts? Back-button focus lets you activate focusing with AF-ON instead of the shutter button. You can set this through Custom Settings → a6 AF activation → AF-ON only.
For quicker adjustments, consider assigning AF-area selection to a compatible Fn or lens button. Nikon also provides Focus tracking with lock-on (a3) to adjust how AF responds to temporary obstructions, although its response behavior differs in 3D Tracking.
With supported firmware, Focus limiter (a15) can restrict the focusing distance range. This is useful when birds remain within a known distance, but an incorrectly set limit may prevent the camera from focusing on them.
Quick Autofocus Decision
Is the bird moving?
↓
YES
AF-C + 3D Tracking
NO
Small Wide-area or Single-point AF
↓
Is the background cluttered?
↓
YES →
Use a smaller AF area and reacquire focus.
↓
Is the bird recognized and sharp?
↓
YES
Continue shooting
NO
Reposition the focus point and reacquire
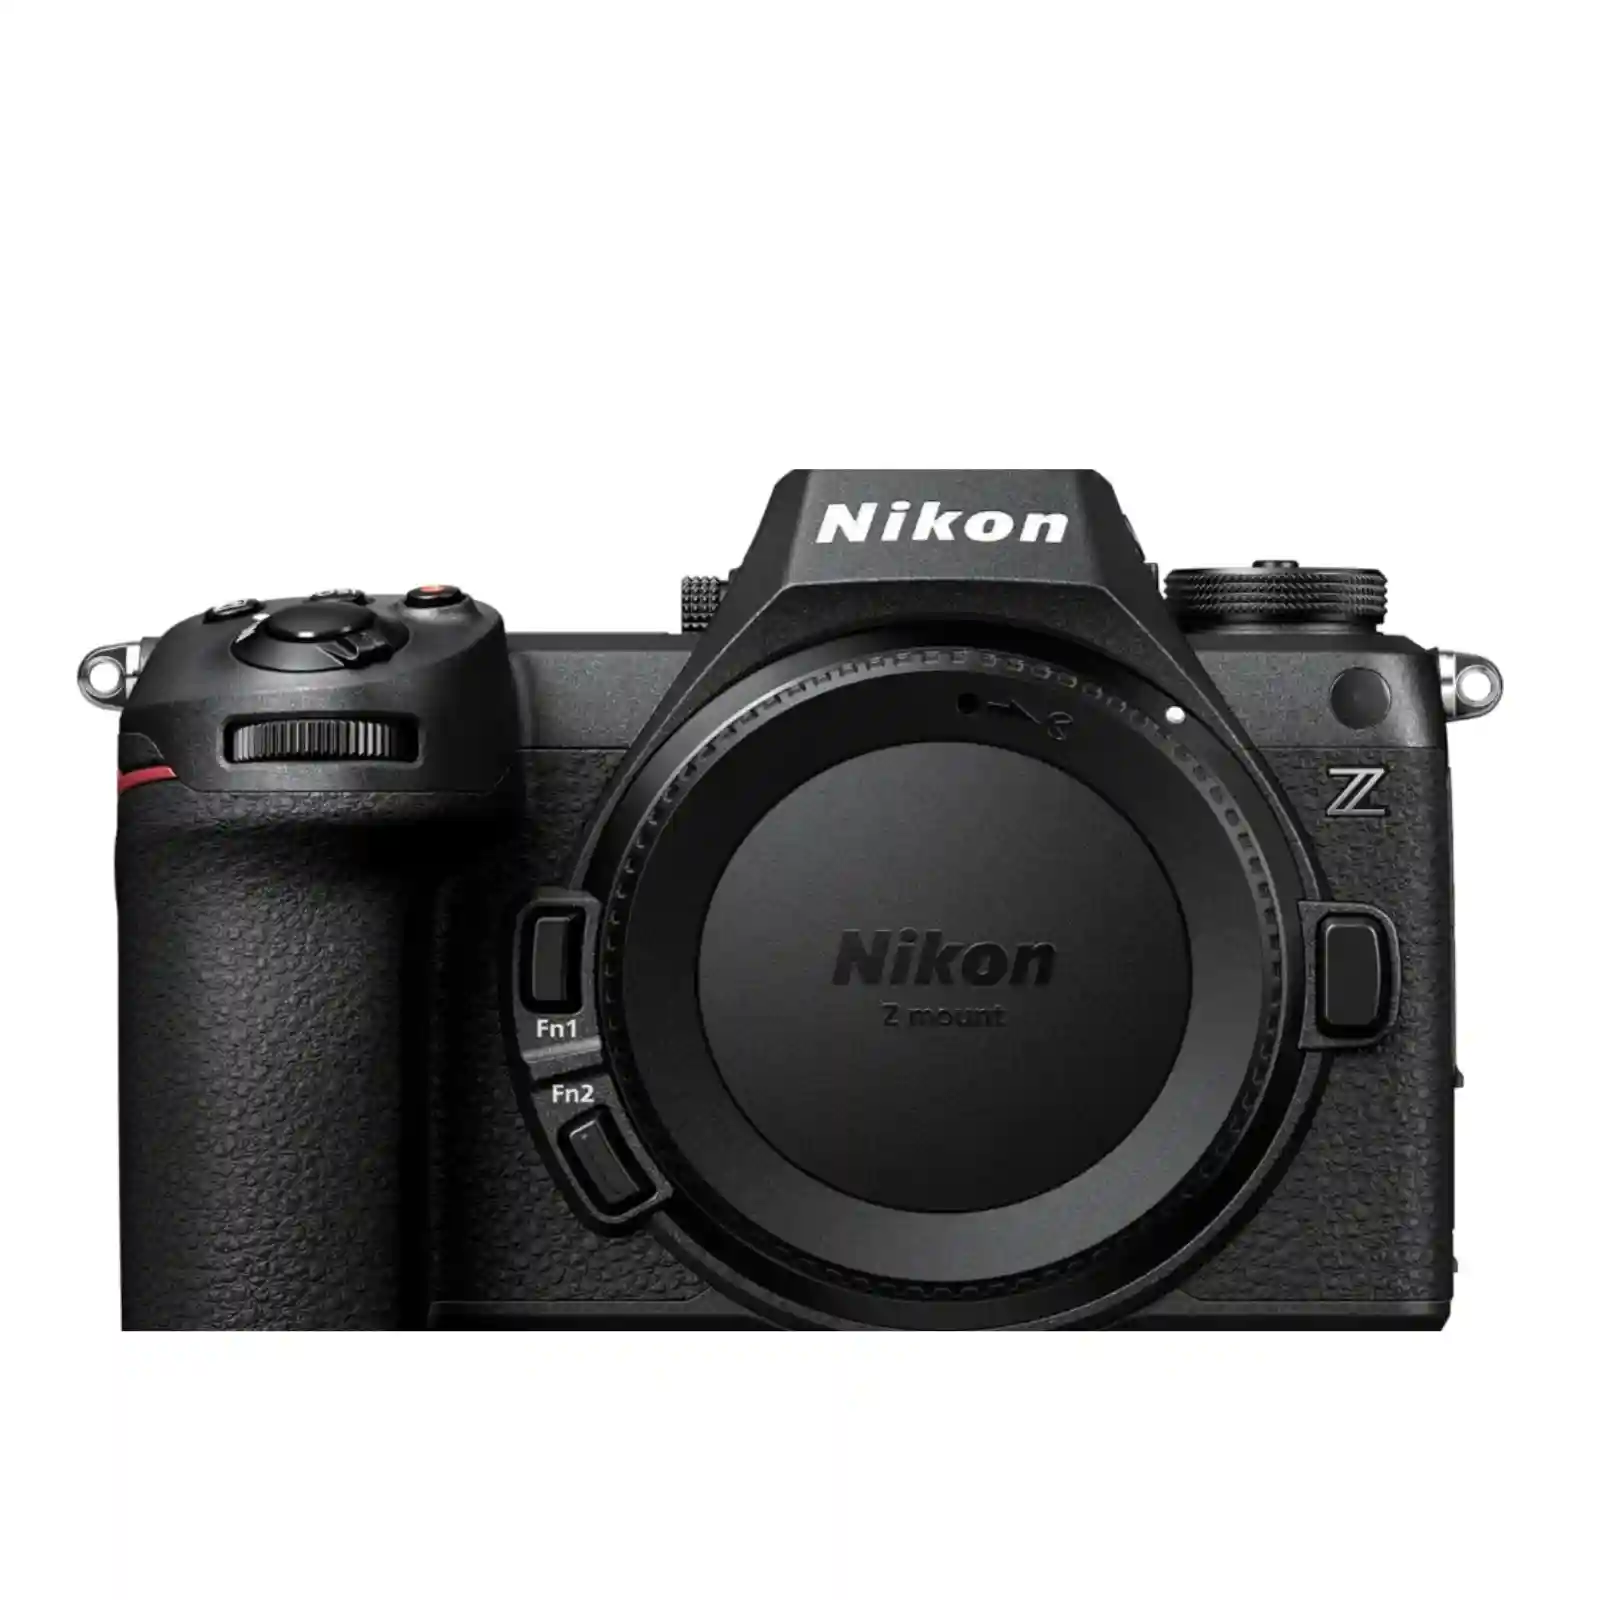
Best Nikon Z6 III Bird Photography Exposure Settings

Getting a sharp bird photo isn’t just about autofocus. Your shutter speed, aperture, and ISO also need to match the bird’s movement and lighting. Here are practical Nikon Z6 III exposure settings to help you get started.
Shutter Speed for Different Bird Behaviors
For a calm, perched bird, start around 1/500–1/1000s. If it’s hopping between branches or moving its head quickly, increase to 1/1000–1/2000s.
For birds in flight, try 1/2000–1/3200s. Fast wingbeats may need even higher speeds. Slower shutter speeds can create intentional motion blur when panning, but remember that vibration reduction (VR) controls camera shake, not moving wings.
Aperture, Auto ISO, and Exposure Compensation
When light keeps changing, Manual mode with Auto ISO makes exposure easier to manage. Set your shutter speed and aperture, and the camera adjusts ISO as brightness changes.
Use a wider aperture in low light, or stop down slightly when you need more of the bird in focus. Higher ISO can add noise, but choosing a shutter speed that’s too slow may leave your subject blurry.
White feathers looking too bright? Try negative exposure compensation to protect highlights. If a dark bird appears too dark against a bright sky, positive compensation may help when using Auto ISO. Check your histogram and image preview before making further adjustments, following Nikon’s official exposure guidance.
RAW, Metering, White Balance, and VR
Shoot RAW (NEF) for greater flexibility when editing shadows and highlights, although severely clipped details may not be recoverable. Matrix metering is a useful starting point, while a fixed white balance helps maintain consistent colors across a sequence.
The Z6 III’s in-body stabilization and compatible lens VR help reduce handheld shake. For tripod photography, follow your lens’s specific VR recommendations.
Nikon Z6 III Bird Photography Settings by Scenario
| Scenario | Shutter Speed | What to Watch |
|---|---|---|
| Perched Bird | 1/500–1/1000s | Head movement and branches |
| Active Bird | 1/1000–1/2000s | AF-C and subject detection |
| Bird in Flight | 1/2000–1/3200s | Tracking and bright highlights |
| Low-light Perched | As slow as movement and support permit | Wide aperture, Auto ISO, stability |
Which shutter speed should you use for bird photography with the Nikon Z6 III? It depends on how your subject moves. Start around 1/500–1/1000s for perched birds, increase to 1/2000–1/3200s for birds in flight, and adjust for available light. Use the chart above as a starting guide, then check your images for sharpness and motion blur.
Burst Shooting, Shutter Type and Pre Release Capture

Ever missed a bird taking off because you pressed the shutter a second too late? The Nikon Z6 III offers high speed shooting and Pre-Release Capture to help with these moments. But knowing when to use each mode matters more than simply choosing the fastest one.
Mechanical vs. Electronic Shutter
The mechanical shutter is a reliable starting point for everyday bird photography, especially around flickering artificial lights.
Electronic shooting offers faster, quieter bursts, but fast wing movement can still show rolling shutter distortion. Artificial lighting may also cause banding. And while silent shooting reduces camera noise, keeping a respectful distance matters just as much.
RAW Burst, Buffer and Memory Cards
Want more flexibility when editing feather details and exposure? Choose continuous RAW shooting. The Z6 III’s fastest high-speed capture modes use JPEG, so don’t assume every burst setting saves RAW files.
Long bursts can fill the camera’s buffer, causing shooting to slow while files are written to the card. Short, well-timed bursts help you avoid missing the next action.
The Z6 III has CFexpress Type B and SD card slots. A fast, compatible CFexpress card can improve buffer clearing, but actual performance depends on your settings and card speed.
Pre Release Capture for Sudden Takeoffs
If a bird launches before you react, Pre Release Capture can save frames from just before your full shutter press.
According to Nikon’s official Pre-Release Capture guide, the feature works with compatible high-speed JPEG modes, including C15, C30, C60 and C120. You can find its options under Custom Settings → d3 → Pre-Release Capture options.
It’s useful for unpredictable takeoffs, but extended use can consume more battery and create extra images to review. For maximum RAW editing flexibility, regular continuous shooting remains the better choice.
Normal Burst vs. Pre Release Capture
Normal burst: Recording starts when you fully press the shutter.
Pre Release Capture: The camera buffers earlier frames while you half-press, then saves eligible frames when you press fully.
Normal Burst vs. Pre-Release Capture
Normal Burst
—
—
—
●
●
●
●
Recording begins after the full shutter press.
Pre-Release Capture
●
●
●
●
●
●
●
Before Press
↑ Full Press
After Press
Buffered frames from before the full press can be saved along with later frames.
Buffered
Recorded
Illustrative timeline — not an exact frame count. Pre-release buffering requires a half-press first.
Four Real World Nikon Z6 III Bird Photography Setups
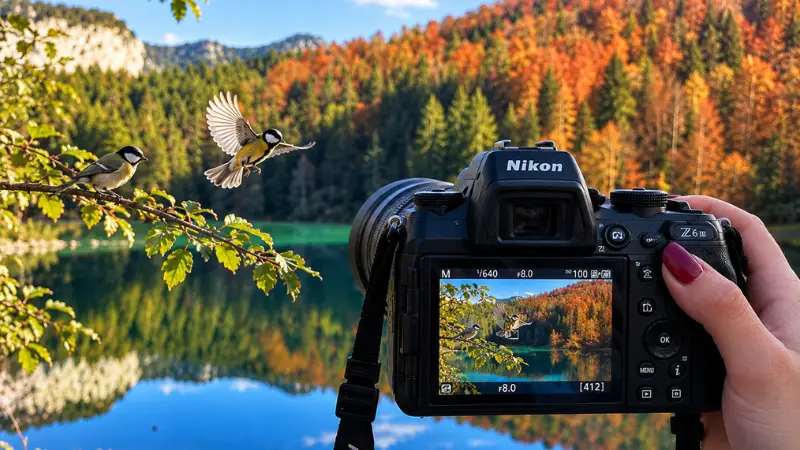
Bird photography doesn’t always give you time to adjust your settings. A bird might be hiding behind branches, flying overhead, or moving through fading light. Here are four practical Nikon Z6 III setups to help you handle these situations.
Setup A: Small Perched Birds in Trees
Found a tiny bird tucked between branches? The NIKKOR Z 180 600mm gives you the reach to photograph it from a comfortable distance, but a longer focal length won’t automatically give you a clear shot.
Try Single point AF or a small Wide area AF box to avoid focusing on nearby branches. Keep Auto ISO enabled, and look for a cleaner angle that separates the bird from the background without getting too close.
Setup B: Birds in Flight Against Open Sky
Struggling to find a flying bird through your lens? Start at a shorter focal length to locate it, then zoom in once you can follow its movement.
Use AF-C with 3D Tracking and begin around 1/2000–1/3200s. Pan smoothly to keep the bird in your frame. If you’re photographing white birds against a bright sky, check the highlights to avoid losing feather detail.
For additional bird-in-flight techniques, read Nikon’s guide to capturing birds in flight with the Z6 III.
Setup C: Birds Moving Across Busy Trees
Does your autofocus keep jumping to branches instead of the bird? You’re not the only one dealing with this problem.
While researching Nikon Z6 III autofocus experiences, I came across a Reddit discussion where one photographer described acquiring a bird with a selected focus area before switching to 3D Tracking. They also found the Focus Limiter helpful around foliage.
Another Z6 III owner in the discussion reported losing focus even with 3D Tracking. So if tracking slips, switch back to a smaller AF area, place it over the bird, and reacquire focus before continuing.
Setup D: Dawn, Dusk and Dense Woodland
Low light can leave you choosing between a blurry bird and a noisy image. A wider aperture helps gather more light, making a faster lens like the NIKKOR Z 400mm f/4.5 VR S particularly useful.
Use Manual mode with Auto ISO, keeping your shutter speed fast enough for the bird’s movement. If low contrast makes autofocus struggle, try a smaller focus area and aim at a clearly defined part of the bird.
Nikon Z6 III Bird Photography Setup Comparison
| Scenario | Lens | AF Area | Shutter | ISO | Drive | Problem → Fix |
|---|---|---|---|---|---|---|
| Small Perched Birds | 180–600mm | Single-point / Small Wide-area | 1/500–1/1000s | Auto ISO | Continuous Low | Branch sharp → Refocus on bird |
| Flight, Open Sky | 180–600mm | AF-C + 3D Tracking | 1/2000–1/3200s | Auto ISO | Continuous High | Lost subject → Zoom out |
| Busy Trees | 180–600mm | Small Wide-area | 1/1000–1/2000s | Auto ISO | Short Bursts | Background sharp → Reacquire |
| Dawn / Woodland | 400mm f/4.5 | Small Wide-area | ~1/500s if movement permits | Auto ISO | Continuous Low | Blur / noise → Adjust shutter and support |
01. Small Perched Birds
Lens: 180–600mm
AF Area: Single-point / Small Wide-area
Shutter: 1/500–1/1000s
ISO: Auto ISO
Drive: Continuous Low
Problem → Fix: Branch sharp → Refocus on bird
02. Flight, Open Sky
Lens: 180–600mm
AF Area: AF-C + 3D Tracking
Shutter: 1/2000–1/3200s
ISO: Auto ISO
Drive: Continuous High
Problem → Fix: Lost subject → Zoom out
03. Busy Trees
Lens: 180–600mm
AF Area: Small Wide-area
Shutter: 1/1000–1/2000s
ISO: Auto ISO
Drive: Short Bursts
Problem → Fix: Background sharp → Reacquire
04. Dawn / Woodland
Lens: 400mm f/4.5
AF Area: Small Wide-area
Shutter: ~1/500s if movement permits
ISO: Auto ISO
Drive: Continuous Low
Problem → Fix: Blur / noise → Adjust shutter and support
Not sure which Nikon Z6 III bird photography settings to use? Start with the setup that matches your shooting conditions, whether you’re photographing perched birds, fast moving birds, or wildlife in low light. Use the shutter speed and autofocus recommendations above as a starting point, then fine tune them for your subject and surroundings.
Custom Buttons and Complete Nikon Z6 III Field Setup
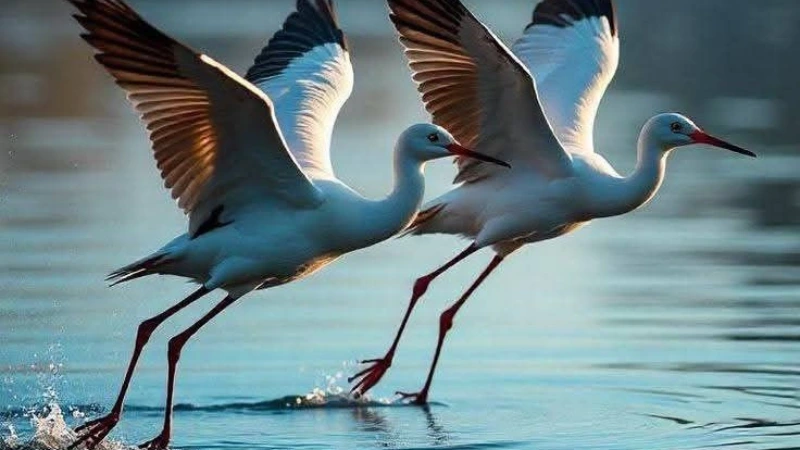
Birds can move from a quiet perch to sudden flight in seconds. Preparing your camera controls and field essentials beforehand helps you respond quickly without searching through menus.
Fast Switching Between Bird Situations
Consider using AF-ON for back button focusing and assigning frequently used autofocus functions to compatible Fn buttons. Keep your most-used settings accessible through the i Menu.
You can also prepare U1 for perched birds, U2 for birds in flight, and U3 for low light. Not every setting is saved in these presets, so check Nikon’s custom controls documentation and user settings guide before configuring them.
Field Gear for Long Bird Photography Sessions
Planning to spend hours waiting for a bird to appear? Carry a charged spare EN-EL15c battery, especially when continuous autofocus and frequent bursts keep your camera busy.
RAW bursts can fill memory cards quickly, so check capacity and compatibility when choosing CFexpress Type B or UHS-II SD cards. For Pre-Release Capture, review Nikon’s requirements for supported high-speed JPEG modes.
Using a heavy NIKKOR Z 180–600mm for hours? A monopod or tripod can reduce fatigue. Pack a rain cover and protective camera bag when the weather looks unpredictable.
Keep your setup practical. Walking photographers may prefer lighter gear, while stationary sessions benefit from extra support.
Pre Shoot Gear and Camera Checklist
Before leaving, check your lens hood, batteries, memory cards, free storage, support, rain protection, and firmware version.
Once you’re in position, confirm AF-C, Birds detection, shutter speed, drive mode, and exposure. Make sure your photos are safely backed up before formatting any card.
Nikon Z6 III Field Setup Tool
Choose a scenario and prepare your camera.
Lens180–600mm
Shutter1/500–1/1000s
AutofocusAF-C + Small Wide-area
ISOAuto ISO
DriveContinuous low
PresetU1 (if saved)
Quick Tip: Keep focus on the bird, not nearby branches.
Before You Shoot
0/6 ready
Suggested starting settings only. Adjust for bird movement, lighting and firmware. U1/U2/U3 must be saved beforehand.
Advanced Nikon Z6 III Features: Focus Limiter and Auto Capture
Want more control when photographing birds that move unpredictably? Two advanced Nikon Z6 III features are worth exploring, especially if you’re using supported firmware.
Focus Limiter
Control Focus Distance
Is your camera focusing on branches instead of the bird? Focus Limiter, available with supported firmware, restricts the focusing distance range to help reduce unnecessary focus hunting.
Make sure the bird stays within your selected range.
Auto Capture
Capture Expected Action
Waiting for a bird to enter a familiar area? Auto Capture can start shooting when selected subject conditions are met, without you pressing the shutter at that moment.
Check firmware support and shooting restrictions first.
Pre-Release Capture
Save Earlier Moments
Worried you'll press the shutter too late? Pre-Release Capture can save buffered frames from before the full shutter press in supported high-speed JPEG modes.
Unlike Auto Capture, it still depends on your shutter action.
Before using these features: Check the official Nikon Z6 III manual for exact menu steps and restrictions. Always position your camera without disturbing birds or nesting areas.
Why Your Nikon Z6 III Bird Photos Are Not Sharp

Got a blurry bird photo even though your settings looked right? Don’t change everything at once. First, zoom in on the image and check what’s actually wrong. A missed focus point, slow shutter, and camera shake need different fixes.
Nikon Z6 III Bird Photography Troubleshooting Guide
| Problem | Likely Cause | Quick Fix |
|---|---|---|
| Background sharp, bird soft | Wrong AF target | Use smaller AF area; refocus. |
| Body sharp, eye soft | Eye missed; shallow depth | Focus on eye; stop down. |
| Blurred wings | Slow shutter | Increase shutter speed. |
| Whole frame blurry | Shake or poor tracking | Improve support and panning. |
| Bird too small | Too far away | Improve position or lens reach. |
| Heavy noise | High ISO; lifted shadows | Balance exposure and shutter. |
| White feathers clipped | Overexposure | Check histogram; lower exposure. |
| AF hunts through branches | Obstructed AF | Smaller AF area or Focus Limiter. |
| Burst pauses | Buffer, card or drive setting | Check card and drive mode. |
| Bent wings or banding | Electronic shutter / lighting | Try another shutter mode. |
Still struggling to get sharp bird photos with your Nikon Z6 III? Use the quick fixes above to identify what’s going wrong, whether it’s missed eye focus, blurred wings, distracting branches, or noisy images. A few targeted adjustments can make a noticeable difference in your next bird photography session.
How to Reduce Flicker Under LED Lights
If you’re photographing neon signs, shop displays, or LED lit streets and notice banding, Nikon’s High Frequency Flicker Reduction feature may help.
The Z6 III supports fine shutter speed adjustments in compatible shutter priority and manual shooting settings. You can adjust the shutter speed until the bands become less noticeable.
Take a few sample photos and review the actual results, since the live preview may not show exactly what the final image captures.
Nikon Z6 III Bird Photography: Field Techniques and Buying Verdict

Strong autofocus helps, but knowing where to stand and when to press the shutter can make a bigger difference in your bird photographs.
Better Bird Photography Starts in the Field
Try shooting at the bird’s eye level, choosing a cleaner background, and paying attention to the direction of light. Leave space in front of flying birds and watch for body-language cues, such as leaning forward before takeoff.
Before relying on heavy cropping, look for a better shooting position without disturbing the bird.
Respect wildlife: Keep a safe distance from nesting birds, avoid irresponsible baiting, and never enter protected areas without permission. Turn off AF-assist illumination when it could disturb birds, particularly in low light.
Is the Nikon Z6 III Worth Buying for Bird Photography?
Yes, if you want a versatile full frame camera with capable autofocus and high speed shooting features. However, your telephoto lens, cropping needs, and total system cost deserve equal attention.
The Nikon Z8 offers higher resolution for cropping distant birds, but it is larger and generally more expensive. For a detailed comparison, see our Nikon Z6 III vs Z8 guide. A Nikon DX body provides a narrower field of view with the same lens, which can help frame distant subjects, although performance varies by model.
Bottom line: The Z6 III is a strong choice for photographers who value speed and versatility rather than maximum resolution or the lowest system cost.
Final Verdict: Build the Setup Around the Bird
Better bird photographs start with understanding your subject, not chasing perfect camera settings. Choose a lens based on the bird’s size, shooting distance, and how much equipment you can comfortably carry.
For perched birds, unpredictable flight, or cluttered woodland scenes, adjust your autofocus area and shutter speed to match the conditions. Save your most useful Nikon Z6 III presets so you can switch between situations without losing valuable moments.
Your next step: Practice photographing one type of bird, review your images at full magnification, and identify what caused missed shots. Make small adjustments until you find a setup that works consistently for your shooting style
FAQs
What is the best autofocus mode for birds on the Nikon Z6 III?
AF-C is a practical starting point for moving birds. Use 3D Tracking for flight and a smaller Wide-area AF setting when branches interfere with focus.
Does the Nikon Z6 III have Bird Eye AF, and which firmware version is required?
Yes. The Nikon Z6 III supports dedicated Birds subject detection with firmware 2.00 or later. This allows the camera to recognize birds and prioritize their eyes when detected. To use it, update your firmware, select Birds in the AF/MF subject-detection options, and choose an appropriate AF-area mode, such as Wide-area AF or 3D Tracking. Eye detection may be less reliable when birds are small, partially hidden, or surrounded by branches.
What shutter speed works for birds in flight?
Start around 1/2000–1/3200 second for flying birds. Faster wingbeats may require higher speeds, while slower settings can create intentional motion blur.
Is 400mm enough for birds on the Z6 III?
400mm can work well for larger or nearby birds. Small, distant subjects often benefit from a longer lens, such as a 180–600mm zoom.
Can Z6 III Pre-Release Capture save RAW files?
No. Pre-Release Capture uses supported high-speed JPEG shooting modes, not RAW. Conventional continuous shooting supports RAW files.
Is the Nikon Z6 III or Z8 better for small, distant birds?
The Nikon Z8 is generally better for small, distant birds because its 45.7MP sensor offers more cropping flexibility than the Z6 III’s 24.5MP sensor. This helps when a bird occupies only a small part of the frame. However, the Z6 III is still a strong choice if you can fill more of the frame with a suitable telephoto lens. The Z8 is also larger and generally more expensive, so consider your shooting distance, lens budget, and portability needs.
Why does my Nikon Z6 III focus on branches instead of birds?
When the Nikon Z6 III focuses on branches instead of a bird, try Single-point AF or a smaller Wide-area AF selection. Position the focus area over the bird’s head and reacquire focus. On firmware 2.00 or later, Birds detection and Focus Limiter can also help in suitable conditions, although neither guarantees accurate focus through obstructions.
Does firmware 2.00 improve bird autofocus on the Nikon Z6 III?
Yes. Nikon Z6 III firmware 2.00 introduced dedicated Birds subject detection, improving the camera’s ability to recognize and track birds, including smaller subjects and birds against complex backgrounds. The update also added Focus Limiter and Auto Capture. Actual results still depend on the subject, lens, AF-area selection, and shooting conditions.
Why do Nikon Z6 III bird photos lose feather detail in high-speed JPEG bursts?
High-speed JPEG modes can show different levels of fine feather detail compared with RAW files because JPEG processing, compression, noise reduction, and sharpening affect the final image. Check your selected image quality and exposure settings, then compare similar frames at the same magnification. Use regular continuous RAW shooting when maximum editing flexibility is more important than the fastest burst modes.
About the Author
Humna is an author and researcher at HZ Lens Lab with four years of experience researching cameras, lenses, and photography techniques. Her background in photography, combined with independent research and insights from experienced photographers, informs her approach to creating clear, practical guides that help photographers choose the right equipment based on their individual needs and the type of photography they do.
About HZ Lens Lab
HZ Lens Lab is a camera and lens research website run by two sisters, Humna, an author and researcher, and Zainab, the site’s editor. We create practical camera reviews, buying guides, and comparisons that make photography equipment easier to understand.
Our content combines firsthand experience when we’ve personally used or tested equipment, real-world insights from professional photographers and camera owners, manufacturer specifications, and careful independent research. We clearly identify personal observations where applicable and explain equipment strengths, limitations, and real-world performance.
Our focus is on accurate information, balanced recommendations, and practical guidance that helps you choose and use the right camera gear based on the type of photography you do, your individual needs, and your budget.
Review Methodology
At HZ Lens Lab, our evaluation focuses on how camera features translate into practical shooting decisions. For this article, Humna assessed the Nikon Z6 III against five factors that influence bird photography in different environments.
Our evaluation focused on five key areas:
Autofocus and Bird Detection: The suitability of subject recognition, AF-area modes, and tracking controls for perched birds and birds in flight.
Lens Reach and Handling: The trade-offs between focal length, aperture, weight, and portability when photographing birds at different distances.
Exposure and Image Detail: How shutter speed, ISO, lighting conditions, and cropping flexibility affect shooting decisions.
Action Photography Features: Where burst shooting, Pre-Release Capture, and customizable controls can be useful, along with their limitations.
Practical Shooting Challenges: How background distractions, unpredictable movement, and changing light influence camera setup choices.
These criteria shaped the recommended starting settings, lens comparisons, and troubleshooting guidance throughout this article. The goal is to help readers choose a setup that suits their subjects, environment, and shooting priorities.
For more about our editorial approach, visit About HZ Lens Lab.
Other Posts
Fujifilm X-H2 Review 2026
Our Fujifilm X-H2 review covers image quality, autofocus, 8K video,...
Read More
Ricoh GR IV Review: Real-World Pros, Cons & Global User Feedback
Read our Ricoh GR IV review with key specs, pros,...
Read More