Read our Sigma BF review for owner feedback, pros, cons,...
Read More
Nikon Z50 II Pre Release Capture: Setup, Buffer Mechanics, and Honest Trade Offs
1-Oct-2026 / Content written by Humna!
Quick Verdict: Is Nikon Z50 II Pre Release Capture Worth Using?
Best for: birds, wildlife, sports, kids, pets, and unpredictable action
Avoid it if: you don’t need high speed bursts or want fewer images to sort
Main strengths: captures frames before the full shutter press, C15/C30 support, useful for sudden action
Main trade offs: higher battery use, more files to review, 90-second standby limit
Chapters
A heron’s wings can snap open in an instant, and a shutter fired a half-second late can leave the frame empty. Just water.
Wildlife photography often comes down to split second timing. You see the moment, your finger reacts, and the camera may record what happened after the action has already begun. Even experienced shooters can miss frames because human reaction time has limits.
Pre-Release Capture is designed to address that problem. It buffers frames before the full press, so frames from just before the shutter is fully pressed can already be recorded.
Research into Nikon’s Pre Release Capture system shows how this feature can reduce the need to perfectly time unpredictable action, such as a bird suddenly taking flight.
Nikon once reserved this for flagship bodies. The Z50 II brings it to a $909.95 body.
This guide gives you the exact path: drive mode, menu setup, buffer mechanics, and honest trade offs.
KEY TAKEAWAYS
- Pre-Release Capture only runs in high-speed frame capture + mode, so set the drive mode first or nothing records.
- At 30 fps, the buffer saves roughly one second before the full press, meaning the decisive frame may already be captured.
- Confirm the Pre symbol and green dot in the viewfinder before action starts; if they’re absent, buffering isn’t active.
- Back-button focus can help manage focusing separately from the shutter, while keeping bursts short can reduce culling overload.
⚡
Z50 II Quick Fix Tool
Select your problem for an instant fix
Select an issue above to see the fix.
What Pre Release Capture Is and Why It Matters

Every missed action shot has the same basic problem: you see the action, react, and press the shutter but the decisive moment may already have passed.
Pre-Release Capture is designed to reduce that gap by buffering frames before you fully press the shutter.
The Reaction Time Problem in Plain English
Two moments matter in action photography:
- The instant you see the action
- The instant you fully press the shutter
Human reaction time sits between them. The article uses roughly 0.3 seconds as an average reaction time reference.
For fast action, such as a bird taking off or a child scoring a goal, even that short delay can mean missing the exact frame you wanted.
Pre Release Capture helps by keeping earlier frames available before the full shutter press.
What Pre Release Capture Actually Does
Pre Release Capture works differently from a normal burst.
A standard burst begins capturing when you press the shutter. With Pre-Release Capture, the camera starts buffering frames while you:
- Half press the shutter, or
- Hold AF ON
Those buffered frames are not permanently saved yet.
When you fully press the shutter, the camera saves frames from before the press, along with the frames captured afterward.
At 30 fps, up to one second of pre release capture represents roughly 30 frames from before the full press. Standby buffering can remain active for up to 90 seconds.
The Trade Off: Continuous Buffering Has a Cost
Pre Release Capture keeps the camera actively maintaining a rolling buffer while you wait for the action.
That comes with two practical considerations:
- Battery use: Keeping standby buffering active can consume more power than ordinary shooting.
- 90 second standby limit: Buffering does not continue indefinitely and needs to be re engaged after the standby period ends.
For unpredictable action, the benefit is that frames from immediately before your reaction can still become part of the saved sequence.
Z9 and Z8 Technology in the Z50 II
Pre Release Capture is not limited to Nikon’s higher end Z9 and Z8 bodies.
The Z50 II uses Nikon’s EXPEED 7 processor and brings the Pre Release Capture concept to its APS-C camera body. It also features a 20.9 megapixel APS C sensor and subject detection for 9 subject types.
The Z50 II has different hardware limits from Nikon’s higher end bodies, including a smaller battery and different buffer capabilities, but the basic Pre Release Capture principle remains the same:
Frames can be buffered before the full shutter press and saved when you take the shot.
Understanding that process makes the next part easier: how the buffer works from standby through the final saved burst.
If you’re comparing the Z50 II with other Nikon mirrorless options, our Best Nikon Z Camera for Photography guide can help you explore the wider Nikon Z lineup.
How the Buffer Works: The Four Phases

Nikon’s manual breaks Pre-Release Capture into four phases. Understanding what happens at each stage makes it much easier to know what the camera is doing before and after you fully press the shutter.
The four phases are:
- Standby: The camera continuously buffers frames while you half-press the shutter or hold AF-ON.
- Pre Release Burst: Frames captured just before the full shutter press are saved.
- Post Release Burst: The camera continues recording after the full press.
- Complete High Speed Burst: The pre release and post release frames become one saved sequence.
1. Standby: The Camera Is Watching
From the moment you half press the shutter or hold AF ON, the camera starts buffering frames continuously.
During standby:
- New frames continuously enter the buffer.
- Older frames are overwritten by newer ones.
- The camera maintains a rolling window, not a permanent recording.
- Standby buffering can run for up to 90 seconds.
- After the limit is reached, you need to re engage the shutter or AF-ON to start buffering again.
- Continuous buffering can increase battery use.
Why the 90 Second Limit Matters
Based on my research into Nikon’s Pre-Release Capture system, it helps to think of the buffer as a rolling queue rather than a recording.
At 30 fps, one second of pre release equals roughly 30 frames sitting in the buffer.
The camera continuously:
- Captures a new frame.
- Adds it to the buffer.
- Discards the oldest frame.
- Repeats the process until you fully press the shutter.
Because standby is limited to 90 seconds, re-engaging AF-ON when needed starts a fresh standby cycle instead of treating the buffer like a continuous recording.
2. Pre Release Burst: What Gets Saved Before the Press
When you fully press the shutter, the camera saves the frames already sitting in the buffer as the pre release burst.
At 30 fps:
- About 1 second of pre release action can be saved.
- That equals roughly 30 frames.
- These frames were captured before the full shutter press.
This is what allows Pre Release Capture to preserve action that happened before your reaction reached the shutter button.
3. Post Release Burst: What Gets Saved After the Press
After the full shutter press, the camera continues recording.
This becomes the post release burst.
Recording continues until:
- You release the shutter, or
- The burst reaches its configured limit.
The pre release and post release portions then form one continuous sequence.
4. The Complete High Speed Burst
The complete high speed burst is the entire saved sequence.
It includes:
- Frames captured before the full press.
- The moment of the full shutter press.
- Frames captured after the full press.
Instead of relying on one frame, you can review the sequence and select the exact moment you want, such as:
- A bird’s wings reaching their fullest position.
- A player making contact with the ball.
- The peak moment of another fast-moving action.
See How Pre-Release Capture Works
The camera is already watching before you press.
CAMERA IS BUFFERING
1 sec ago
0.7 sec
0.3 sec
↓
PRESS
Now
After
← Already in buffer
Keeps shooting →
↓
You press the shutter
The camera also saves what happened BEFORE you pressed.
✓ SAVED TO YOUR CARD
BEFORE PRESS
Pre-Release Frames
Moment you almost missed
●
PRESS
AFTER PRESS
Post-Release Frames
Action continues
At 30 fps:
about 30 frames from the second before your press can be saved.
Pre Release Capture Settings Reference Table
Once you understand how the buffer works, the next step is choosing a pre release duration that matches how predictable the subject’s movement is.
| Scenario | Pre-Release | Drive Mode | Best For |
|---|---|---|---|
| Birds | 1.0 s | C15 / C30 | Sudden takeoffs |
| Wildlife | 1.0 s | C15 / C30 | Unexpected action |
| Sports | 0.3 s | C15 / C30 | Predictable action |
| Kids & Pets | 0.3–0.5 s | C15 / C30 | Everyday movement |
Step by Step Menu Setup: Finding the d3 Options
The settings table maps scenarios to durations. Getting to those settings on the Z50 II takes four menu steps, and the first time through is the only time it feels slow.
The Menu Path
Follow this path on the Nikon Z50 II:
- Press the MENU button.
- Scroll to the Custom Settings menu (the pencil icon).
- Select Shooting/display.
- Choose d3 Pre Release Capture options.
Understanding Each d3 Option
The d3 menu groups two important duration settings: Pre release burst and Post release burst.
Pre Release Burst
This controls how much action from before the full shutter press is saved from the buffer.
Available durations are:
- None
- 0.3 s
- 0.5 s
- 1.0 s
A 0.3-second setting provides a shorter pre-release window, while 1.0 second preserves a longer period before the full press.
Post Release Burst
This controls how long recording continues after the full shutter press.
Available durations are:
- 1 s
- 2 s
- 3 s
- Max
The Max setting runs for about four seconds.
Remember the 90-Second Standby Limit
Standby buffering does not continue indefinitely.
According to the settings described in Nikon’s documentation:
- Standby buffering runs for up to 90 seconds.
- Once that period ends, buffering stops.
- You need to half press the shutter or engage AF-ON again to begin a fresh standby cycle.
This means Pre Release Capture is better understood as a press and re engage process, rather than a setting that continuously buffers without interruption.
Back Button Focus Setup
You can assign focus to the AF ON button so it can engage focusing and buffering without relying on the shutter button for the initial half press.
This setup can help separate the two actions:
- AFON: Engage focus and buffering.
- Shutter button: Fully press when you want to save the sequence.
Buffering can therefore begin through either a shutter half press or the configured AF ON control.
Expert Tip
Use AF-ON to separate buffering from the final shutter press.
This can make it easier to keep the camera ready for unpredictable action while leaving your shutter finger available for the full press.
Before You Move On
At this point, the d3 settings may be configured correctly, but Pre Release Capture still depends on the correct drive mode.
That is the next setting to check before relying on the feature.
Drive Mode Requirement: High Speed Frame Capture +
Why Drive Mode Matters
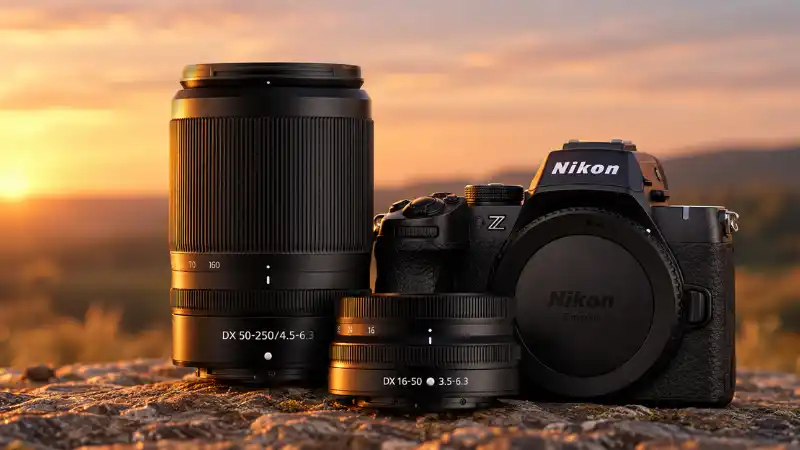
Pre Release Capture only functions in High Speed Frame Capture + mode, using C15 or C30. Other drive modes disable the feature.
One important setup issue I found during my research is that enabling d3 Pre Release Capture alone is not enough. If the camera remains in single frame mode, Pre Release Capture will not activate.
Before shooting, check:
- d3 Pre Release Capture: Enabled
- Drive mode: High speed frame capture +
- Frame rate: C15 or C30
- Single frame mode: Do not use for Pre Release Capture
High Speed Frame Capture + Limits
My research into Nikon’s documentation also shows that high-speed frame capture + comes with specific shooting limits:
- Image quality: JPEG/HEIF Normal
- Image size: Large
- Shutter speed: 1/4000 to 1/60 s
- Exposure compensation: −3 to +3 EV
- Maximum ISO: 51200
These limits are worth checking before setting up the camera for fast-moving subjects.
Research Note
The drive-mode requirement and shooting limits above come from my research into Nikon’s Z50 II documentation, rather than personal camera testing or field experience. Nikon-Z50-II-Pre-Release-Captur…
How to Set the Correct Drive Mode 1.
- Open the release mode screen.
- Choose high speed frame capture +.
- Select C15 or C30.
Once the correct drive mode is selected, the next step is to confirm that Pre Release Capture is active.
How to Confirm Pre Release Capture Is Active
The drive mode is set; now you need to confirm that the buffer is actually running.
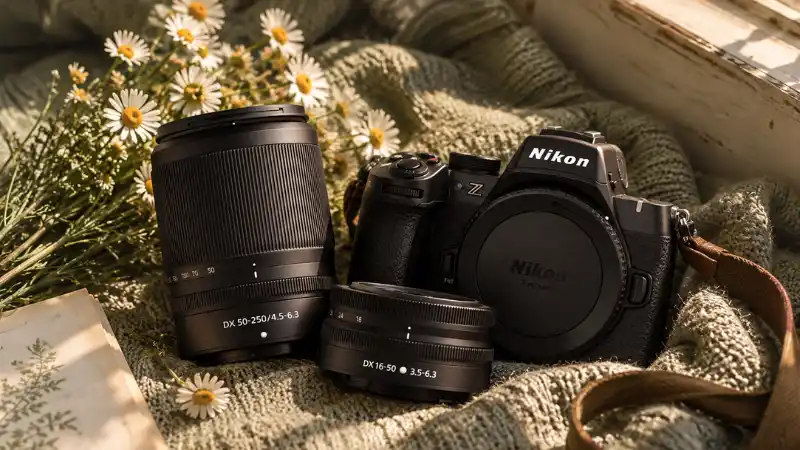
Based on my research into Nikon’s Z50 II documentation, the easiest way to check is to look for the Pre symbol and green dot in the viewfinder.
The Pre Symbol and Green Dot
These two indicators help confirm the status of Pre Release Capture:
- Pre symbol: Shows that Pre Release Capture is armed and the camera is in standby.
- Green dot: Confirms that the camera is actively buffering frames.
- Green dot disappears: Buffering is no longer active.
At 30 fps, about one second of pre release frames can be saved before the full shutter press. Checking these indicators before the action helps confirm that the feature is ready.
If either indicator is missing, check the setup before relying on Pre-Release Capture.
What to Look for in the Viewfinder
A viewfinder illustration can make these indicators easier to recognize. It should clearly show:
- The Pre symbol in its viewfinder position.
- The green dot that indicates active buffering.
- Simple labels pointing to both indicators.
This gives readers a visual reference for what to check before shooting.
Pre Shot Checklist
Based on the setup requirements covered in my research, check these four points before shooting:
- Drive mode: High speed frame capture +
- d3 option: Enabled
- Viewfinder: Pre symbol and green dot visible
- Buffering: Halfpress the shutter or use AF ON to start it
Once these indicators and settings are confirmed, the next step is choosing the appropriate Pre Release Capture settings for different subjects.
Recommended Settings by Subject

The feature is confirmed active; now match the settings to the subject. The right pre-release duration depends largely on how predictable the movement is.
For these recommendations, I researched the available Pre Release Capture durations in Nikon’s Z50 II documentation and compared them with the timing demands of different types of action. The goal is to use a longer buffer for unpredictable movement and a shorter one when the action is easier to anticipate.
Birds in Flight and Takeoffs
Bird takeoffs can happen in a fraction of a second, and the exact moment and direction of movement can be difficult to predict.
A 1.0 s pre release is a practical starting point for perched birds and unpredictable takeoffs because it preserves a longer window before the full shutter press.
- Pre release: 1.0 s
- Best for: Perched birds, takeoffs, sudden flight
- Why: Provides a longer buffer before your reaction and full press
Keep buffering active while waiting for the movement rather than trying to predict the exact instant of takeoff.
Wildlife Jumps and Sudden Action
Wildlife that moves without warning also benefits from a longer pre-release window.
Based on the same comparison of Nikon’s available durations and unpredictable subject movement, 1.0 s is a sensible starting point.
Keep the buffer active through the wait using a half-press or AF-ON.
Sports and Action
Sports action can sometimes be easier to anticipate because you can follow the play and recognize when a key moment is approaching.
A 0.3 s pre release provides a shorter capture window and produces fewer extra frames to review afterward.
- Pre release: 0.3 s
- Best for: More predictable action
- Benefit: Fewer unnecessary frames to sort through
Kids and Pets
For kids and pets, start with 0.3–0.5 s and adjust according to how predictable the movement is.
Predictable actions, such as a child preparing to jump or a dog waiting for a cue, can also help you become familiar with how Pre Release Capture works before using longer buffer durations for less predictable subjects.
How These Recommendations Were Researched
These settings are research based recommendations, not results from my own field testing. I compared Nikon’s documented Pre Release Capture duration options with how predictable each type of subject movement is.
The basic approach is simple:
More unpredictable movement → longer pre-release duration
More predictable movement → shorter pre-release duration
Troubleshooting Common Pre Release Capture Problems
Even with the right settings, things can go wrong. Here is how to fix the most common issues.
The Feature Will Not Activate
Check the drive mode first. Pre-Release Capture only works in high speed frame capture +. If another release mode is selected, the feature will not buffer frames.
Next, confirm that d3 Pre Release Capture is enabled. Buffering begins when you half press the shutter or engage AF ON.
If nothing happens, check these three settings before moving on.
Buffering Stops During a Long Wait
Standby buffering runs for up to 90 seconds. After that period, buffering stops and needs to be started again.
Release the shutter button or AF ON, then engage it again to begin a fresh standby cycle.
For long waits, keep the 90 second limit in mind rather than expecting the buffer to run continuously.
Battery Drain
Keeping Pre Release Capture active requires the camera to maintain the rolling buffer, which can increase battery use during longer waits.
If you plan to use the feature for extended shooting sessions, carrying a spare EN EL25 battery is a practical precaution.
Memory Card Speed
A fast UHS II SD card can help captured data clear more quickly between bursts. With a slower card, write times may be longer, especially when shooting repeated high speed sequences.
Culling Large Bursts Efficiently
Pre Release Capture can generate a lot of frames quickly, particularly with longer pre release and post release durations.
Nikon NX Studio can help organize and review burst sequences so unwanted frames are easier to remove.
Keeping bursts short also reduces the number of images you need to review later.
Screenshot Suggestion
Include an NX Studio thumbnail grid screenshot showing a Pre-Release Capture sequence. This gives readers a clear idea of what a large burst looks like during review.
✓ Quick Troubleshooting Check
✓
Drive Mode — High-speed frame capture +
✓
d3 — Pre-Release Capture enabled
✓
Standby — Within the 90-second limit
✓
Battery — Enough charge remaining
✓
Memory Card — Ready for repeated bursts
Essential Gear and Tools for Pre Release Capture

Pre-Release Capture does not require a complicated setup, but a few accessories can make high speed shooting easier to manage. The main things to consider are storage, lens choice, power, and support.
I love nature photography and has a strong interest in cameras, gadgets, and photography gear.
The Core Kit
The Z50 II uses the EXPEED 7 processor and a 20.9MP sensor, with high-speed frame capture reaching up to 30 fps.
For repeated bursts, memory card performance is an important part of the setup.
Fast UHS-II SD Card
A fast UHS II SD card can help captured data clear more quickly between bursts. Slower cards may take longer to write large sequences, which can increase the wait before the next burst.
For frequent Pre Release Capture use, a faster card is therefore a practical choice.
Telephoto Lens
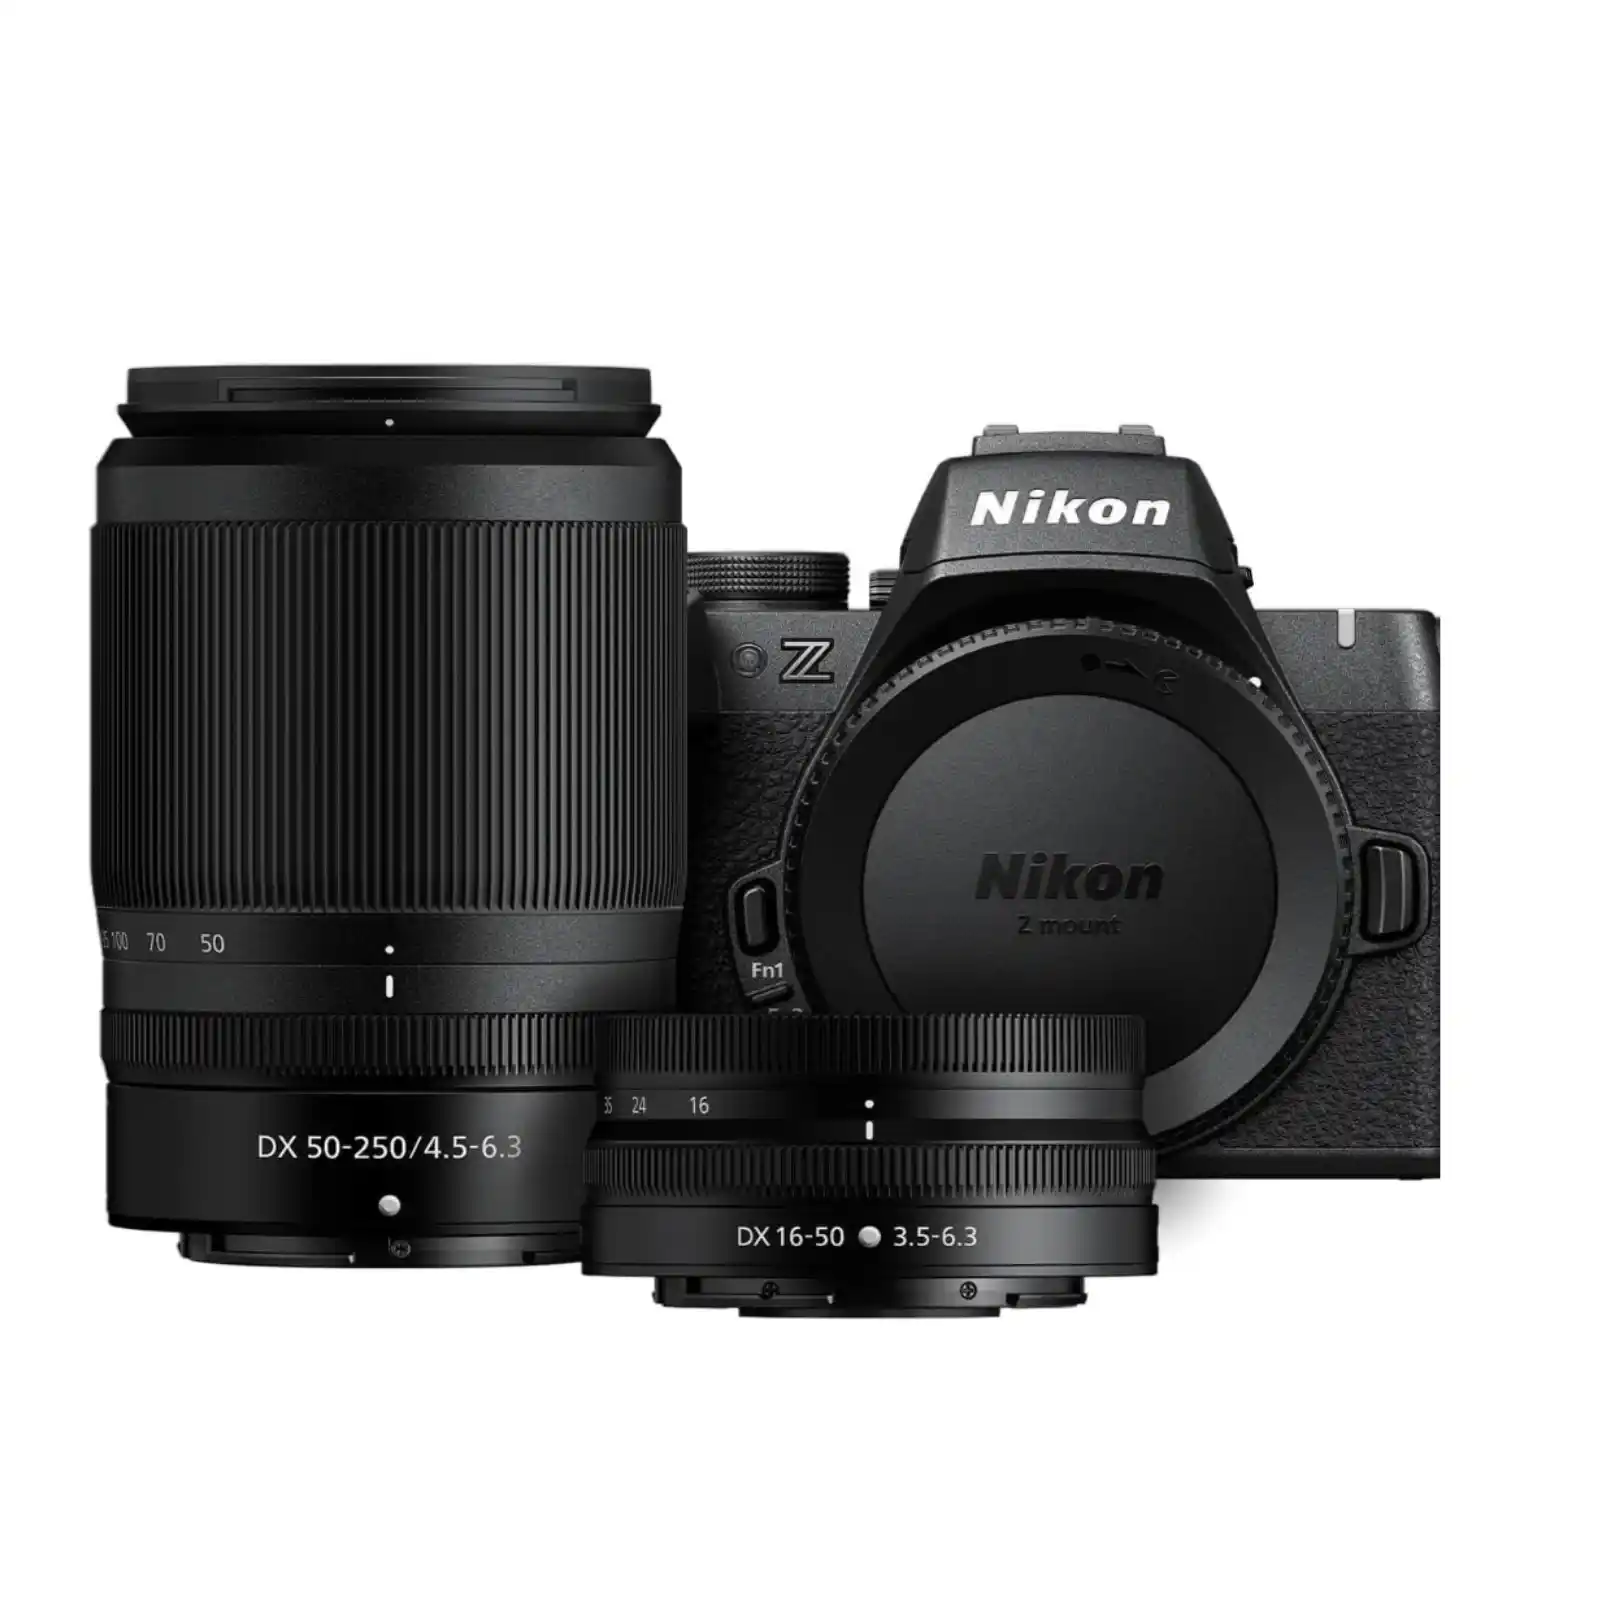
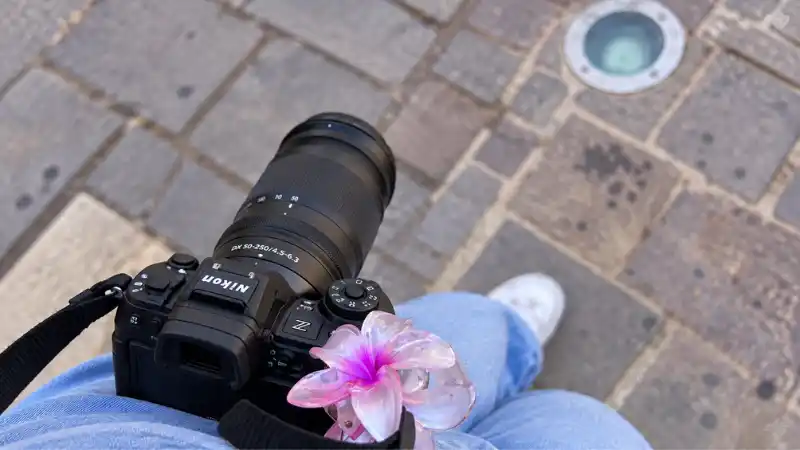
For birds, wildlife, and other distant action, a telephoto lens such as the NIKKOR Z DX 50-250mm f/4.5-6.3 VR provides additional reach.
This can help keep distant subjects larger in the frame and reduce the need for heavy cropping afterward.
Support and Power
Keeping the camera active for extended periods can increase battery use, so carrying a spare compatible battery can be useful for longer shooting sessions.
A monopod or tripod can also help when you need to keep the camera aimed at the same area while waiting for action.
Instead of supporting the camera by hand for an extended period, a stable support can make it easier to maintain consistent framing.
Software for Culling
Pre-Release Capture can create many images in a short time, making an organized review process useful afterward.
Nikon NX Studio provides tools for reviewing and managing captured images. It can be used to go through a sequence, identify the frames you want to keep, and remove unnecessary shots.
The detailed culling process is covered in the troubleshooting section, so there is no need to repeat it here.
A Simple Pre Release Capture Kit
You do not need a large collection of accessories. A practical setup can include:
Z50 II + fast SD card + suitable lens + spare battery + optional camera support
With those basics covered, the next step is putting the important settings into a simple field cheat sheet.
⚡
Z50 II Pre-Release Cheat Sheet
Quick field reference
SETUP
✓
Drive Mode C15 or C30
✓
d3 Pre-Release Capture ON
✓
Start Buffer Half-press or AF-ON
QUICK SETTINGS
🐦
Birds
C30
1.0s
⚽
Sports
C15
0.3s
🐾
Kids & Pets
C15
0.3–0.5s
FIELD REMINDERS
PRE
Capture armed
●
Buffer running
90s
Standby max
No green dot? Re-engage half-press or AF-ON.
Conclusion: Make the Most of Nikon Z50 II Pre Release Capture
The best action photo can happen before you have time to fully press the shutter. That is exactly where Pre Release Capture on the Nikon Z50 II becomes useful.
Once you understand the buffer, choose C15 or C30, set the right pre-release duration, and know what the PRE symbol and green dot mean, the feature becomes much easier to manage. The key is matching the settings to the action rather than using the same setup for every subject.
For unpredictable moments such as birds taking off or sudden wildlife movement, a longer pre-release window gives you more coverage. For more predictable action, such as sports, a shorter window can keep the burst more manageable.
Just remember the practical limits covered in this guide: standby time, battery use, card performance, and the extra images you’ll need to sort afterward. Pre Release Capture does not predict the decisive moment it simply gives you a better chance of having that moment in the sequence.
FAQs
What is Pre-Release Capture on the Nikon Z50 II?
It buffers frames while you half-press the shutter or hold AF-ON, then saves about one second of frames from before
the full press plus the post-release burst. At 30 fps, that is roughly 30 frames you would otherwise miss.
Which drive mode is required for Pre-Release Capture?
High-speed frame capture + (C15 or C30). Any other drive mode disables the feature, and the most common setup
mistake is leaving the camera in single frame.
How long does standby buffering last?
Up to 90 seconds. After that, buffering stops until you re-engage by half-pressing or pressing AF-ON again. Standby
buffering also drains the EN-EL25 battery faster than normal shooting.
What pre-release duration should I use for birds and wildlife?
For birds in flight and takeoffs, the article recommends 1.0 s pre-release. For wildlife jumps and sudden action, use
a longer duration. For predictable sports action, 0.3 s is enough. For kids and pets, start with 0.3 to 0.5 s.
How do I confirm Pre-Release Capture is active?
Look for the Pre symbol and the green dot in the viewfinder. The Pre symbol means the feature is armed and in
standby, and the green dot confirms the buffer is actively recording frames. If either is missing, buffering is not
running.
About HZ Lens Lab
HZ Lens Lab is run by two sisters, Zainab and Humna Khursheed, who are passionate about photography, nature, and cameras. We create research-based guides and reviews using real user experiences.
Our goal is to help beginners, enthusiasts, and professionals make smart decisions when buying cameras and accessories.
We focus on honest advice, detailed comparisons, and actionable recommendations, so you can spend more time capturing great moments rather than guessing which gear to buy.
Review Methodology
At HZ Lens Lab, we select cameras based on real-world user feedback, research, and majority consensus. Every camera is evaluated for:
- Image quality – sharpness, color accuracy, low-light performance
- Autofocus – speed, tracking, and reliability for photos and video
- Ergonomics – handling, comfort, and practical use
- Lens ecosystem – available lenses, upgrade path, and versatility
- Value for money – cost vs features, and long-term usability
We study product specifications, expert opinions, buyer reviews, and repeated user feedback patterns to understand what most real users experience. We do not claim hands-on testing unless we have personally used the product.
We prioritize practical performance over just specs, so our recommendations help you choose a camera that truly fits your photography style and needs.
Other Posts
Fujifilm X-H2 Review 2026
Our Fujifilm X-H2 review covers image quality, autofocus, 8K video,...
Read More
Ricoh GR IV Review: Real-World Pros, Cons & Global User Feedback
Read our Ricoh GR IV review with key specs, pros,...
Read More